
5 Post-Processing Mistakes That Can Ruin A Good Photo
Post-processing is where a photograph really starts to come alive.
When you’re getting started in digital photography, it’s common to let the camera do most of the work. Shooting JPEG means the camera decides things like contrast, colour balance, and sharpening before you even see the image.
But when you’re ready to take creative control over your photos, the first step is getting off of the “auto” setting on your camera to control things like depth of field and shutter speed. The next step is to start shooting in RAW format to take control of the post-processing decisions.
At first, this can feel frustrating because RAW files often look dull, flat and generally grey. That’s normal. The camera is no longer defining things like colour saturation and contrast. Those decisions are now yours to make in post-processing.
The key is knowing how far to go.
What is RAW?
RAW files contain all of the original image data captured by the camera. I like to think of RAW files as being a bit “thicker” than JPEG files – there’s simply more information there to work with when you start editing.
Many cameras use their own proprietary RAW formats, so the file extension isn’t always “.raw”. Depending on your camera, you might see extensions like CR2, NEF, or ARW instead.
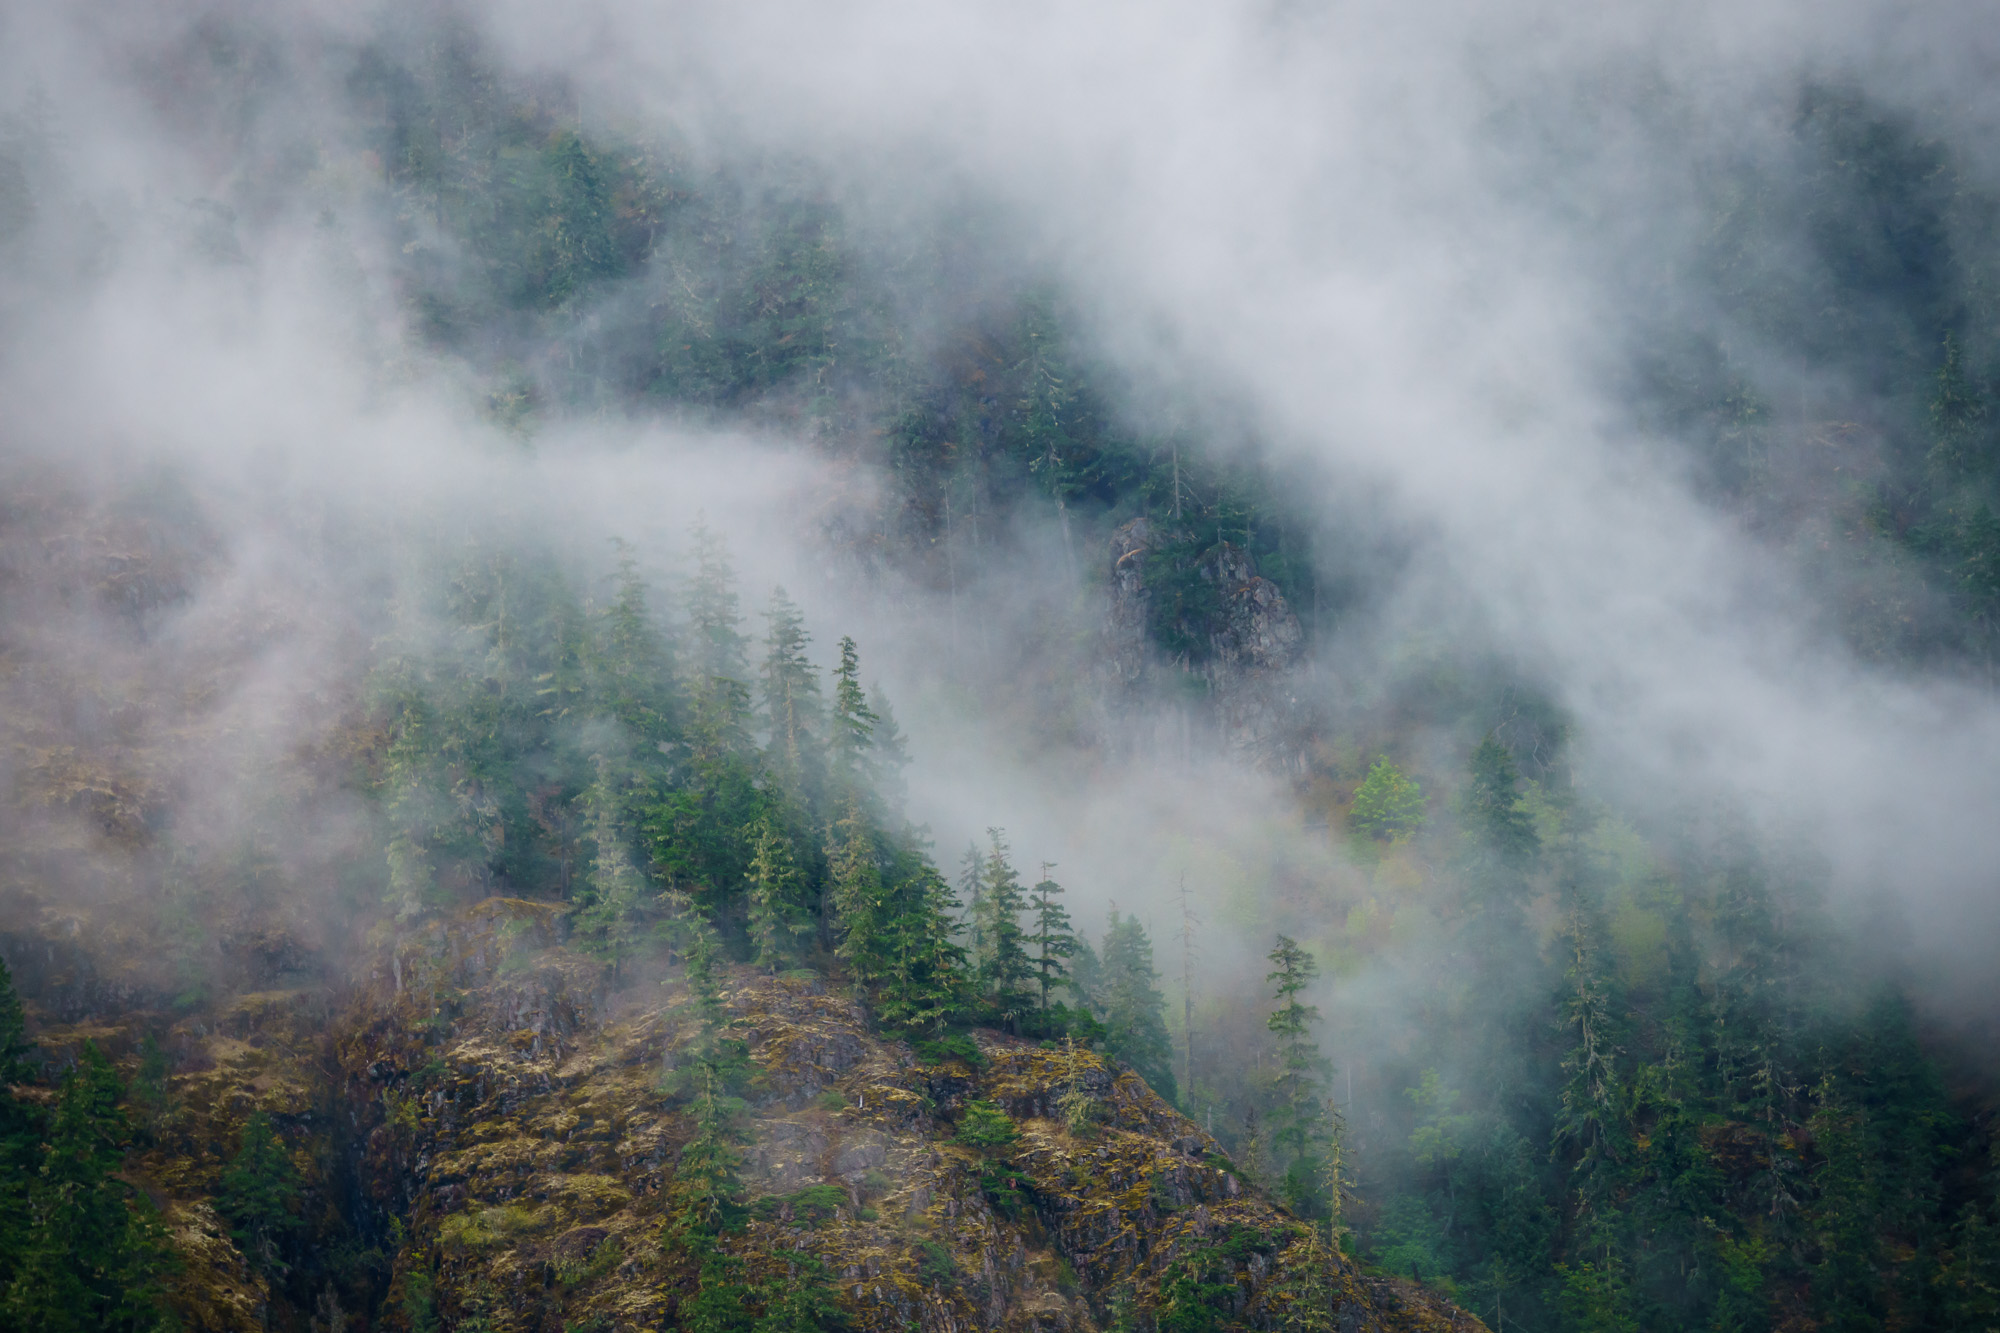
My motto is this: Don’t use post-processing to try to fix a bad photo. Use it to bring out the best in a good photo.
There are many programs you can use to process your photos. I like to use Lightroom. But no matter which one you choose, they all have similar basic settings, like the ones mentioned in this post.
Here are some of the most common post-processing mistakes photographers make, and how to avoid them.
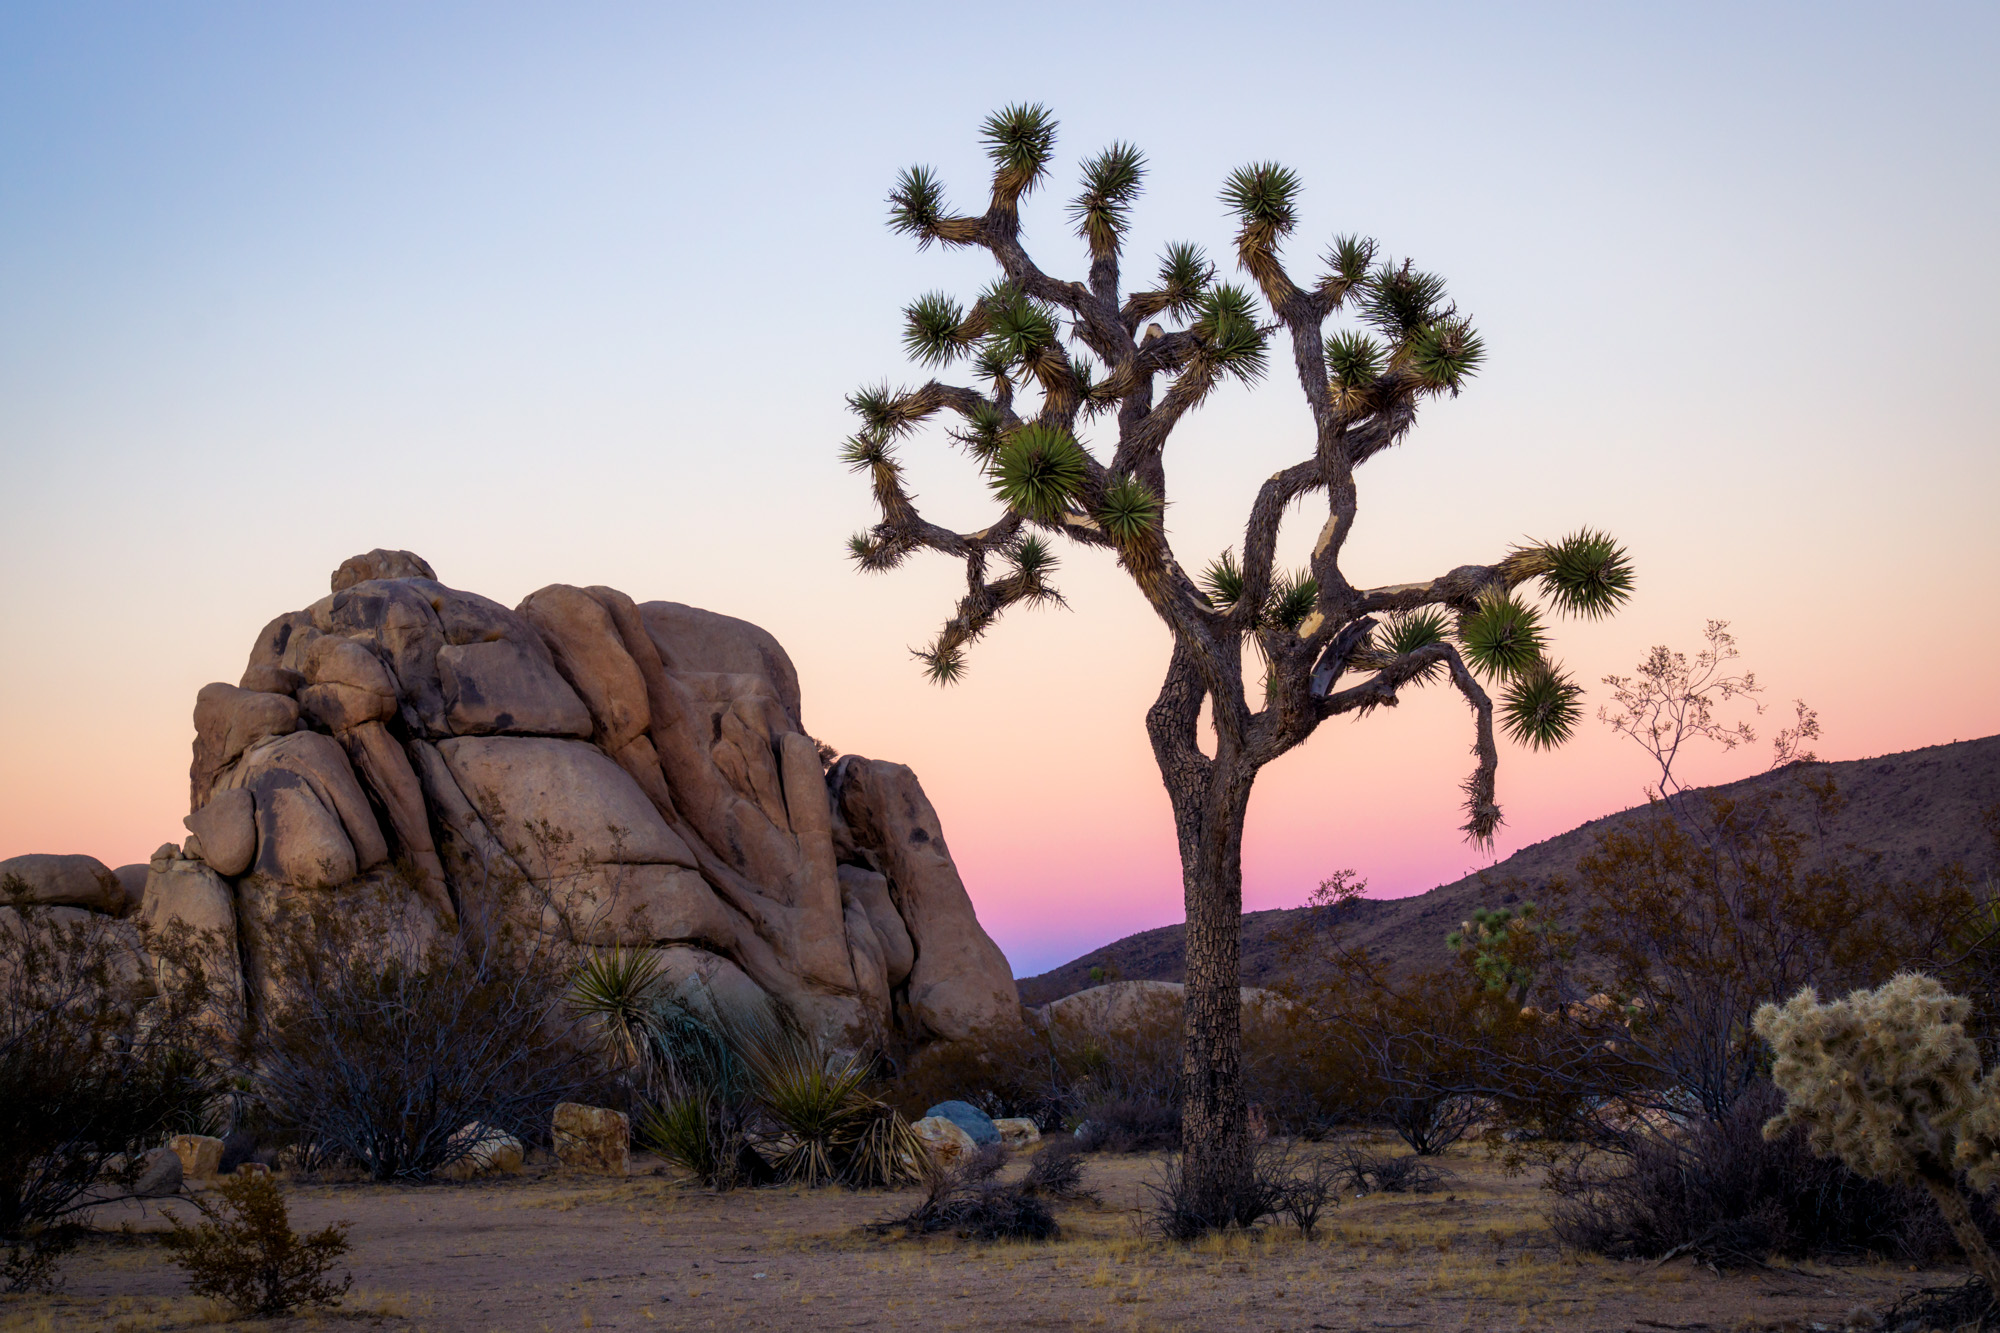
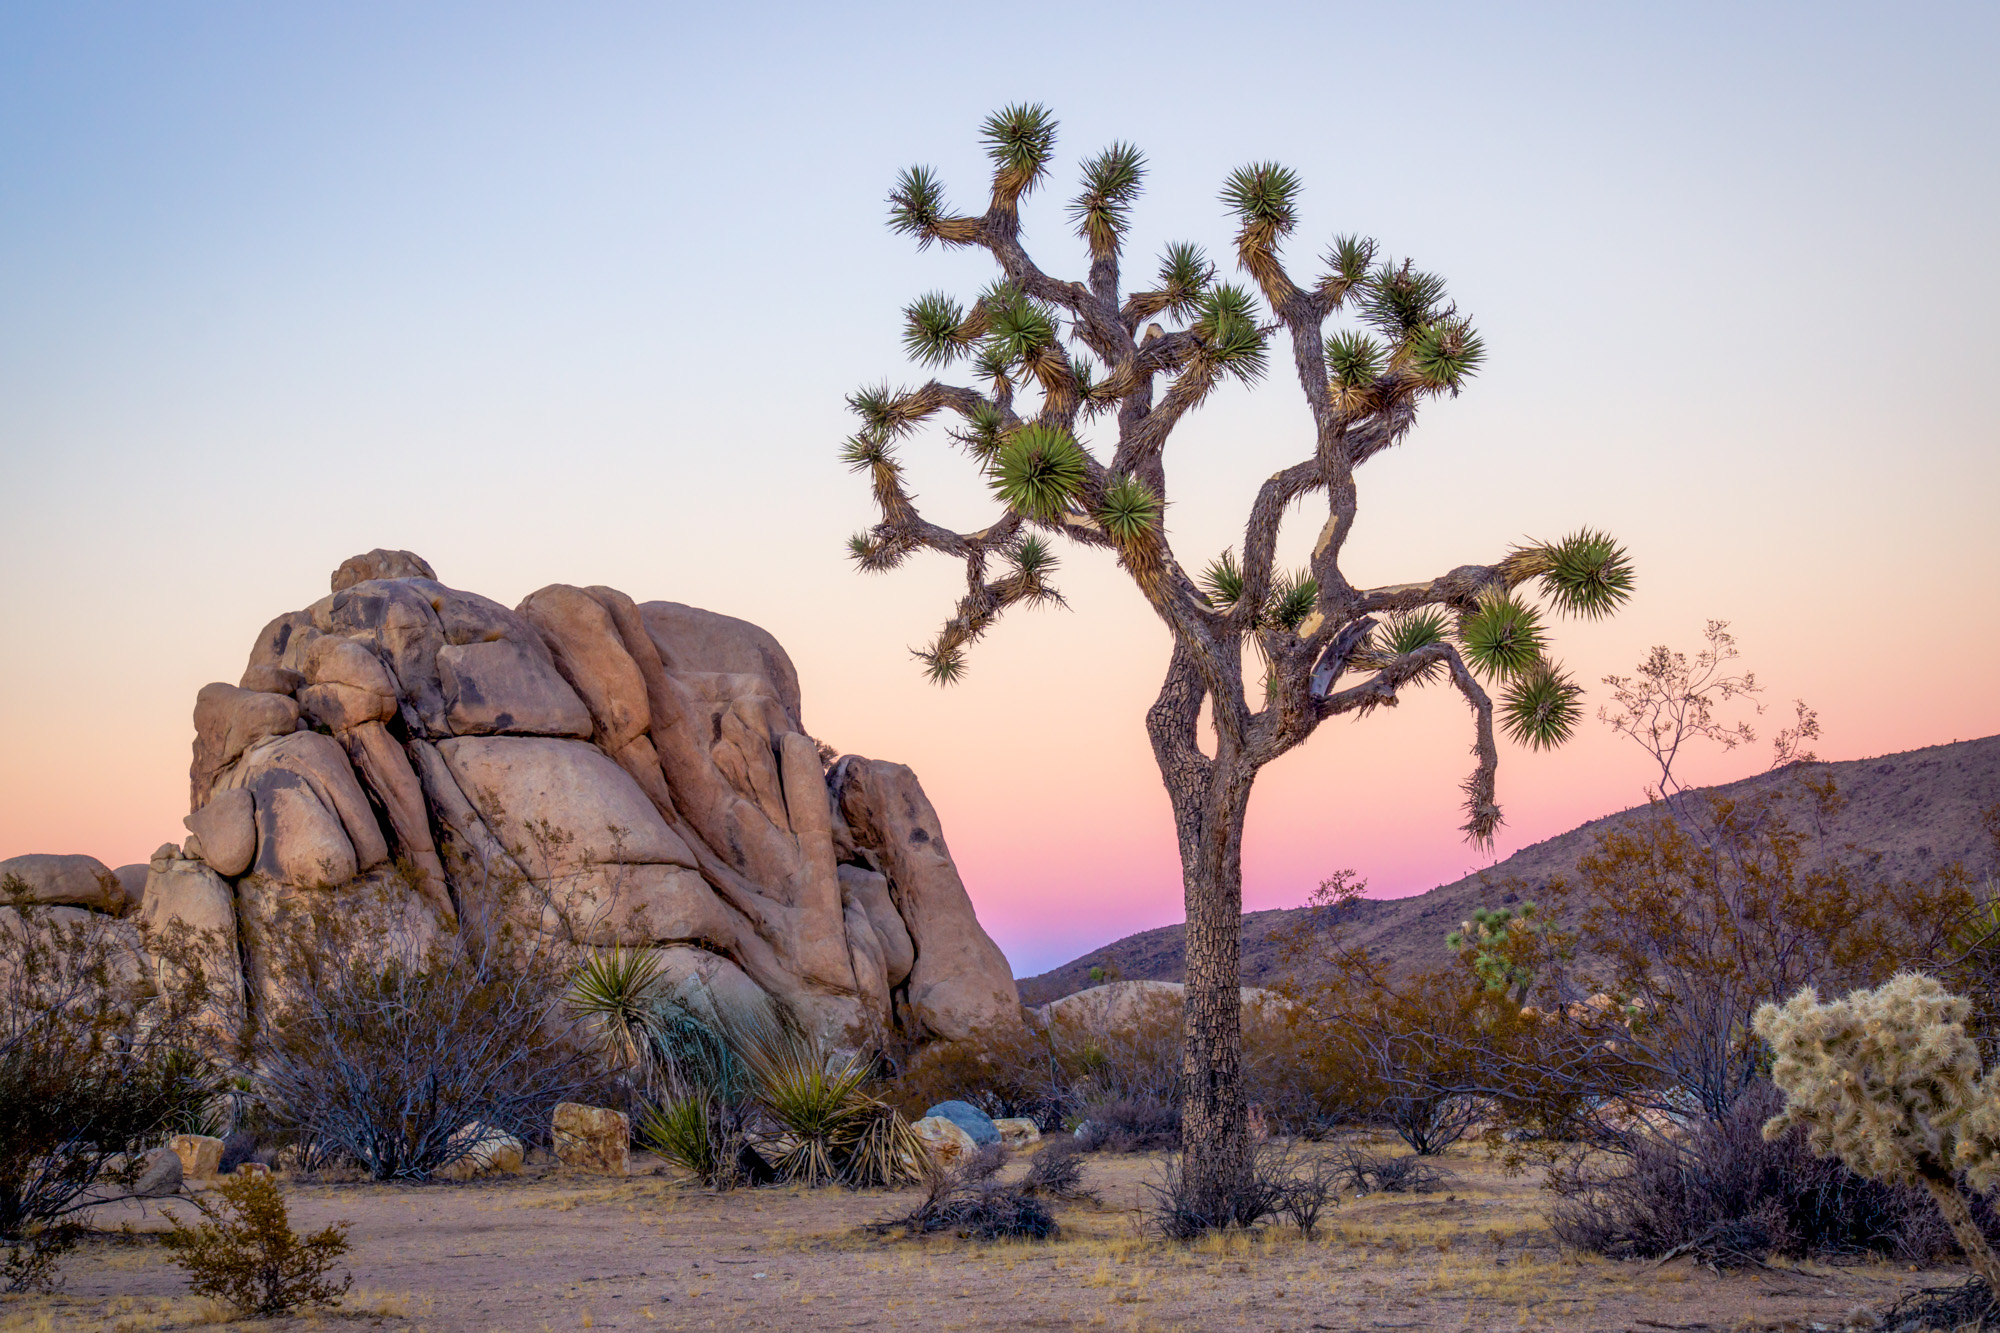
1. Lifting the Shadows Until the Image Looks Flat
It’s always best to get a good exposure in camera whenever possible. Starting with a well-exposed image will always produce better results than trying to fix exposure problems later.
That said, the shadows slider can be very useful for bringing out detail in darker parts of an image.
The mistake happens when shadows are lifted so much that the entire image ends up with the same brightness.
Contrast is what gives a photograph depth and drama. When shadows and highlights become too similar in brightness, the photo can start to look flat and unnatural.
Shadows don’t always need to be rescued.
2. Pushing Colours Too Far
A small boost in colour can make a photo feel vibrant and lively. That’s why the saturation and vibrance sliders are so tempting. The trouble starts when every colour in the image is pushed too far at the same time.
When colours become too intense, they stop looking believable. Greens turn radioactive. Blues become electric. Skin tones or natural elements start to look strange.
This problem can be solved in one of three ways.
- Choose the vibrance slider instead of the saturation slider. Vibrance increases the intensity of the more muted colours in your image, while leaving already saturated colours mostly alone. This helps avoid pushing colours too far.
- Think about which colour actually matters in your scene and adjust only that one. You can adjust individual colours using the colour mixer or the HSL panel. Saturation is the S part of HSL (which stands for Hue, Saturation, and Luminance).
- De-saturate the less important colours. If the subject is a red flower, instead of enhancing the reds, consider desaturating other colours in the scene, such as the greens. Let one colour shine.
Selective adjustments almost always produce a more natural result.


Green Pro Tip:
If you are trying to desaturate greens without much luck, try adjusting the yellow slider instead.
3. Sharpening the Entire Frame
Sharpening can make details in a photograph stand out nicely. It works especially well for textures like feathers, rocks, bark, or foliage.
But sharpening doesn’t belong everywhere in the frame.
Smooth areas like skies or soft backgrounds usually look better without sharpening. Applying the adjustment globally can add grain and noise where you don’t want it.
Instead, try applying sharpening only to the parts of the photo that actually benefit from it.
In Lightroom or Camera Raw, the Masking slider in the Detail panel makes this easy. When you hold down the Option (or Alt) key while adjusting the slider, you can see exactly where sharpening will be applied in the frame. The white areas will receive sharpening, while the black areas will remain smooth.
Another method is to use the masking tool to select your main subject and apply sharpening only to the subject.
This is a great way to keep skies and soft backgrounds looking clean while enhancing the detailed areas of the image.

4. Cropping Away All the Breathing Room
The crop tool is extremely useful for improving composition. It can remove distractions along the edges of the frame or help straighten a crooked horizon.
But sometimes photographers crop so tightly that the image loses its sense of balance.
Not every photograph needs the subject to fill the frame. Leaving some space around your subject can make the composition feel more natural and give the viewer room to explore the image.
Instead of cropping aggressively, think about the relationship between your subject and the surrounding space. Often that extra space is an important part of the photograph.
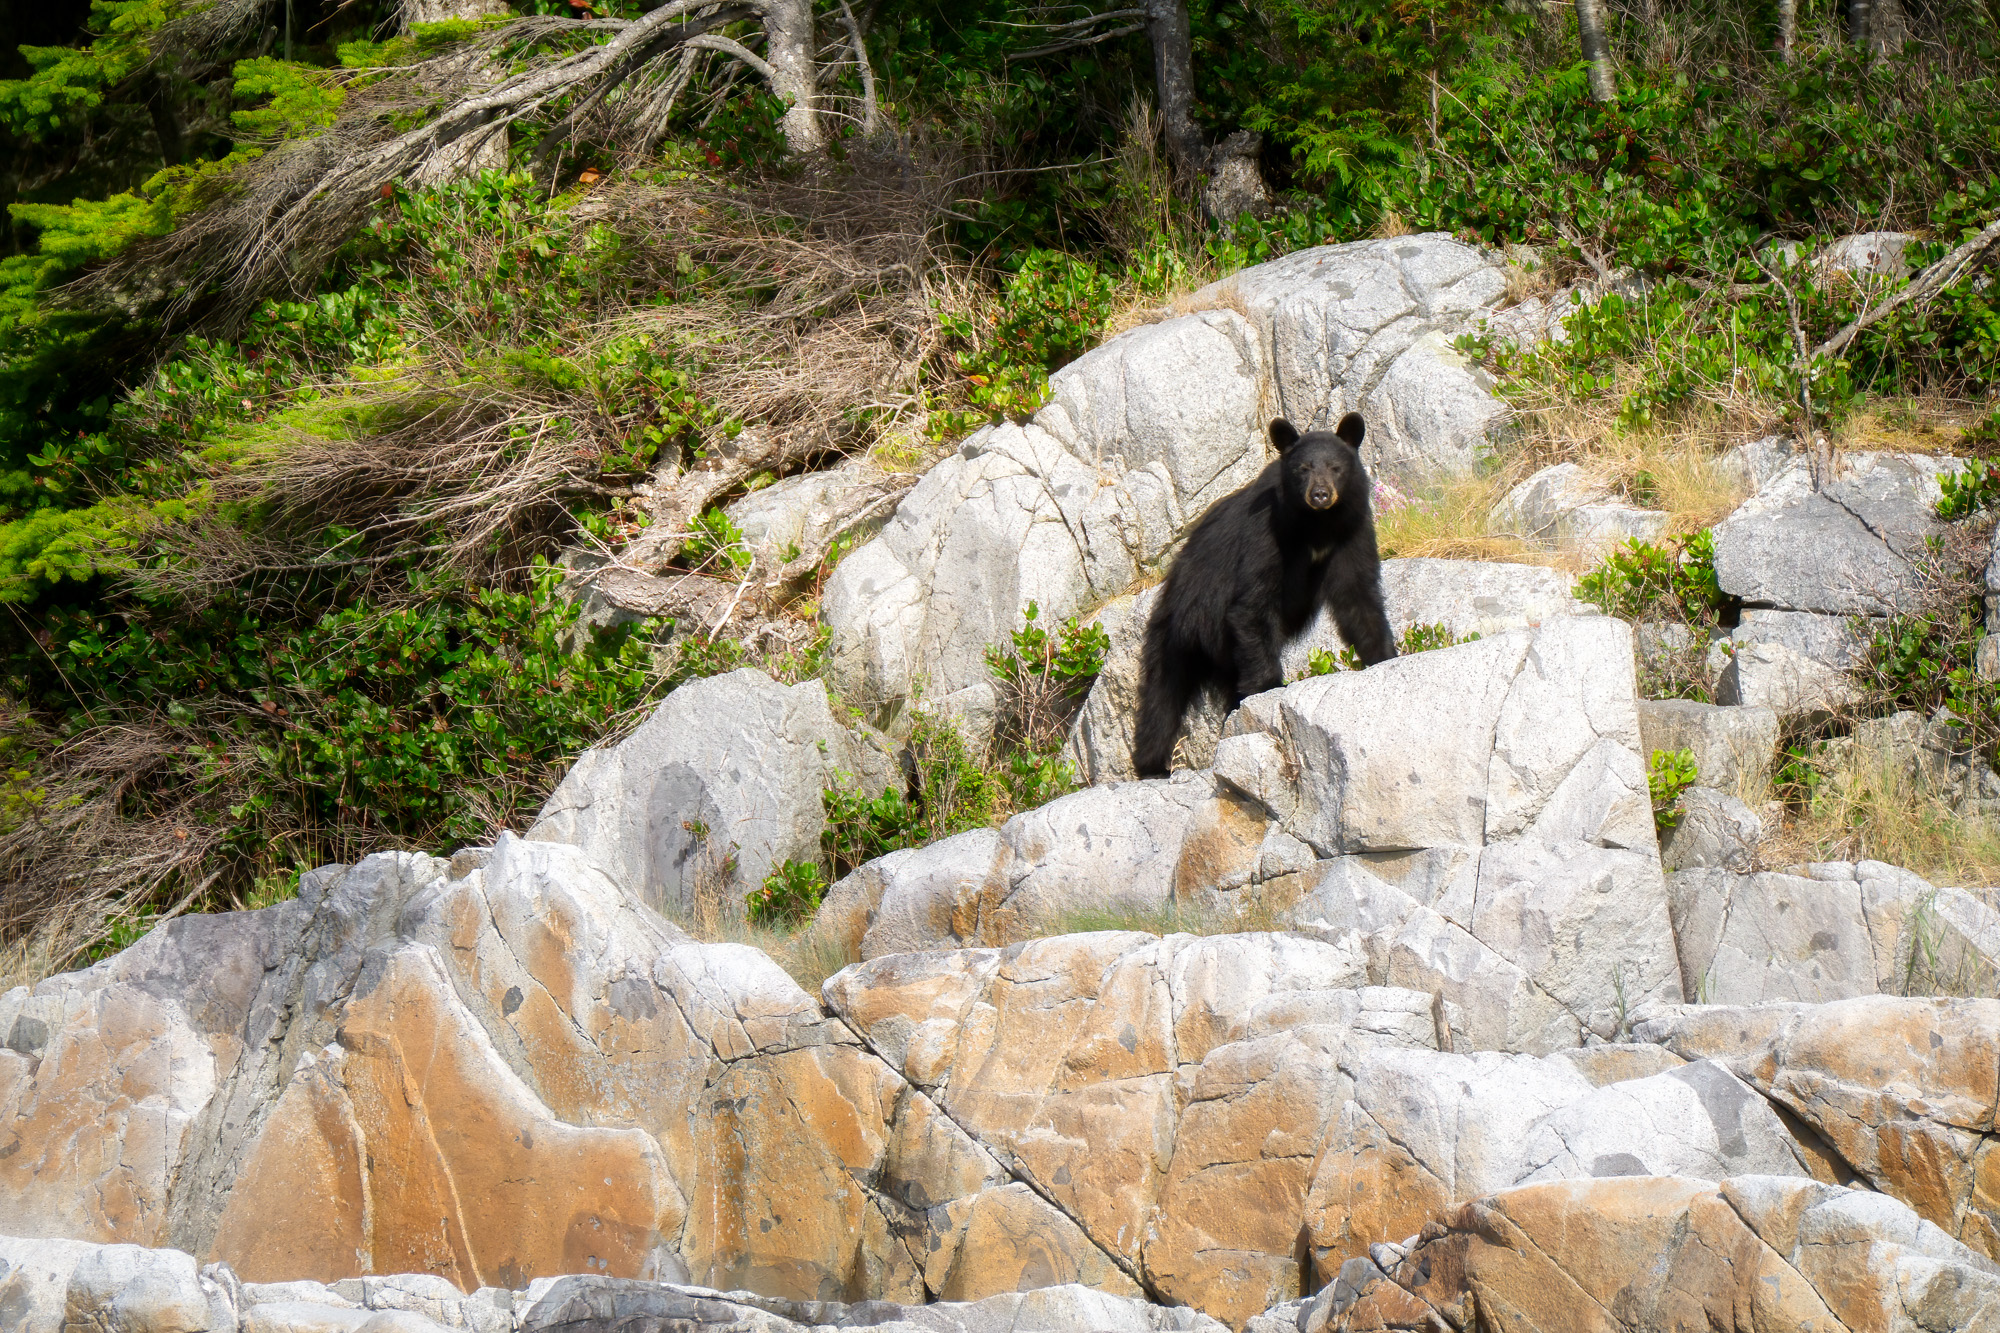
Negative space also helps create a sense of atmosphere and scale.
5. Smoothing Away All the Texture
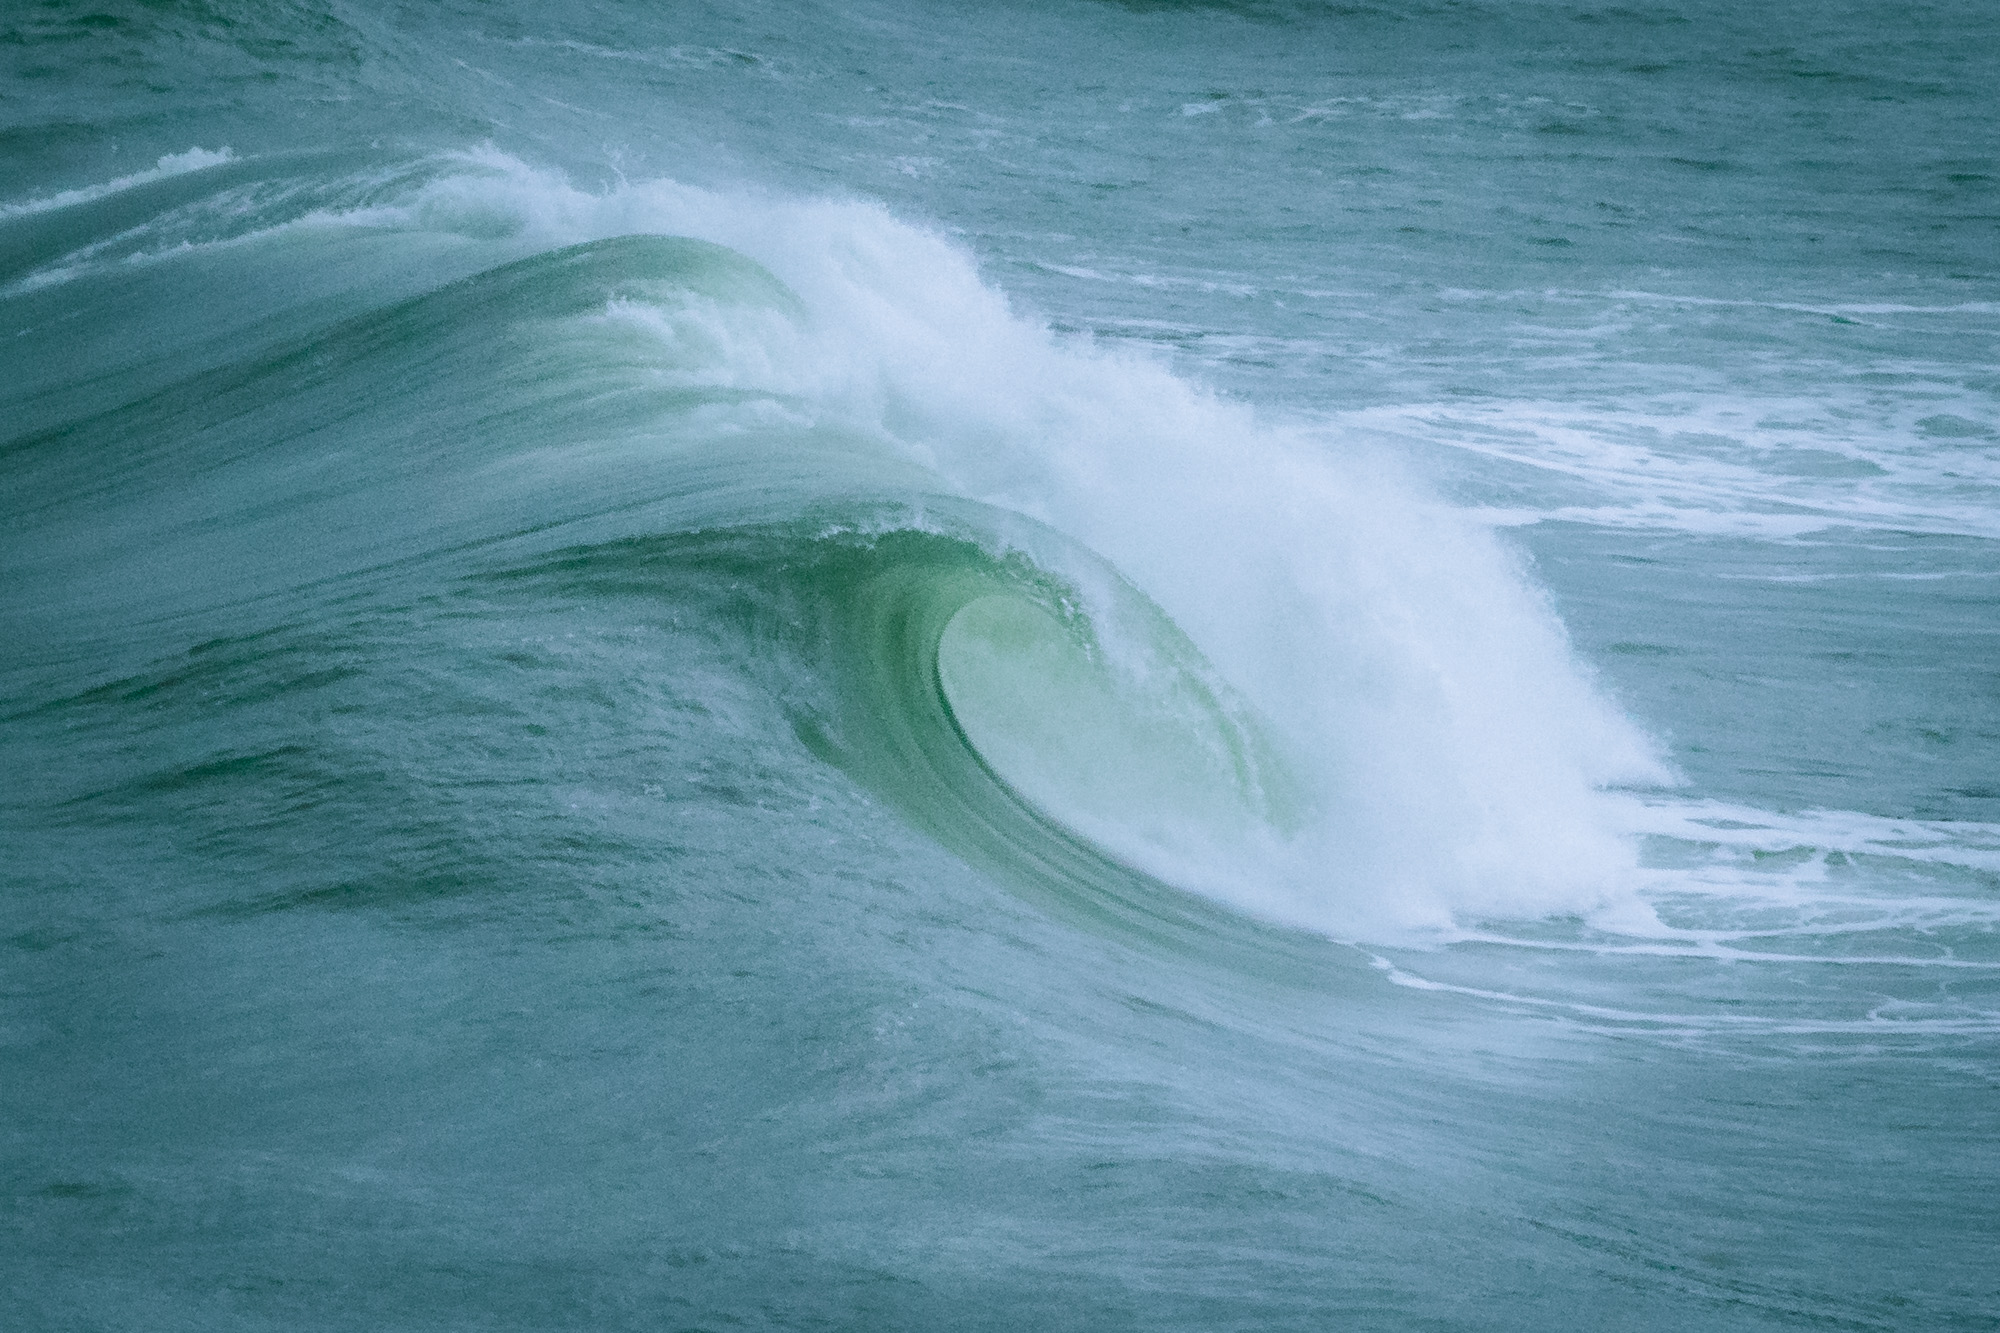
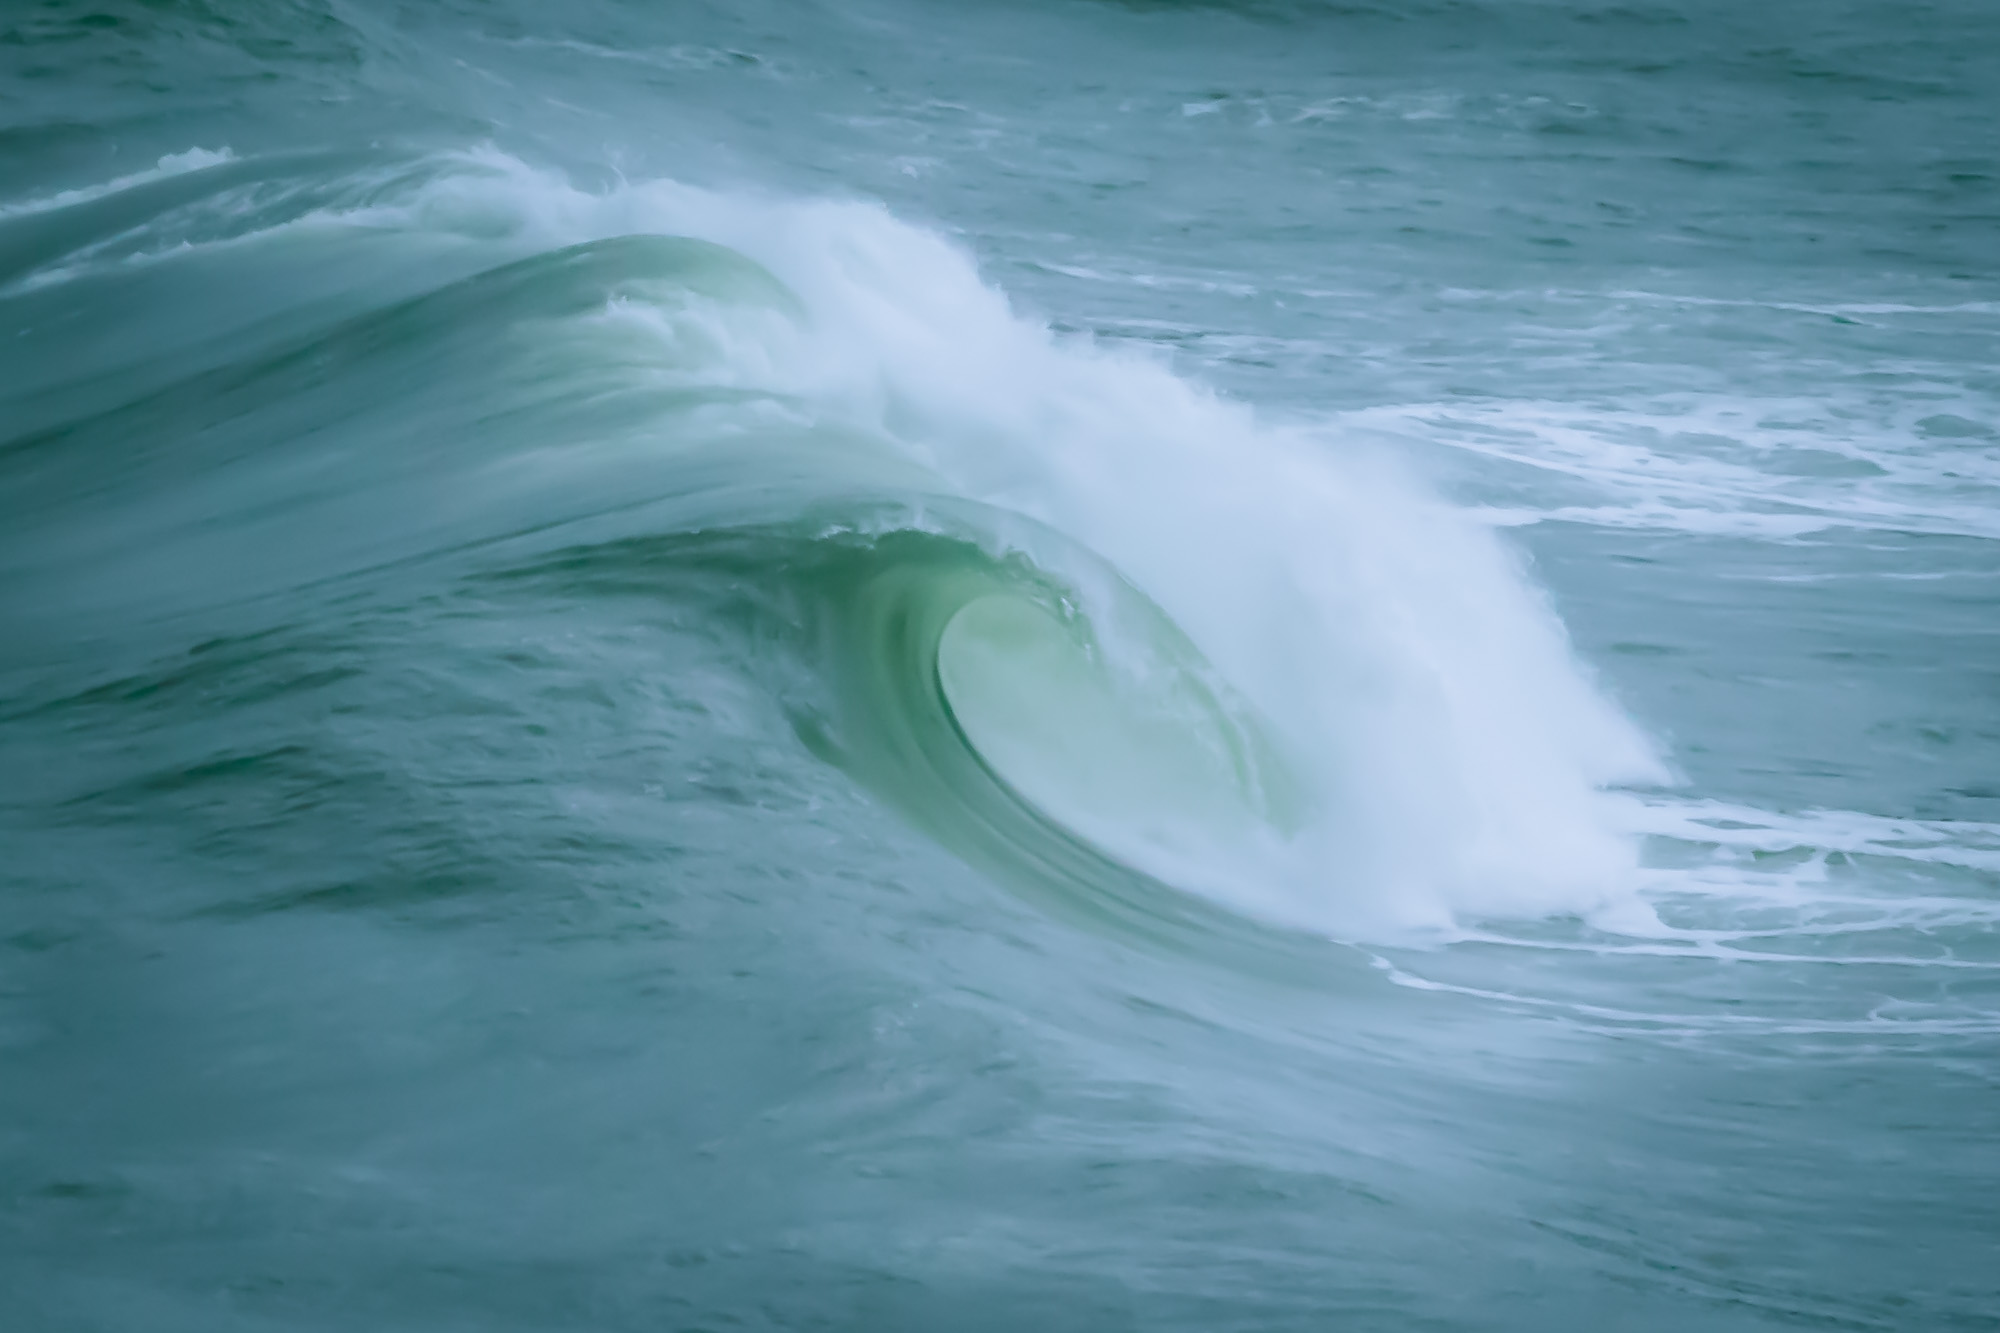
High ISO images sometimes contain visible noise, especially in darker areas of the frame. Noise reduction tools can help soften that grain. The problem happens when noise reduction is pushed too far.
Heavy smoothing removes fine detail and replaces it with blotchy textures. Grass, feathers, leaves, and other detailed surfaces can start to look like they’ve been painted with a soft brush.
Not every image needs to look perfectly smooth. A small amount of grain is often far less distracting than the plastic look created by excessive noise reduction.
Try reducing noise just enough to make it less noticeable, while still preserving the natural texture of the scene.
A Simple Rule for Editing
If there’s a theme running through all of these mistakes, it’s this:
Doing too much.
Subtle edits almost always produce stronger photographs. Small adjustments can make a big improvement to your photos, but pushing things too far often makes them look unnatural.
When you finish editing an image, step away from it for a while. Look at something else or come back to it the next day.
With fresh eyes, it becomes much easier to see whether your edits are helping the photo, or if it might be better to dial things back a little.
Lightroom Pro Tip:
When you are finished your editing, while still in the develop module, try holding down the backslash key. It will show you the “before” version without any edits. Let go and you’ll see the edited version. It’s a great way to evaluate whether your edits have gone too far.
I’d love to hear what this brought up for you — an editing technique you’ve tried, a mistake you’ve run into, or a photo where your processing really made a difference.
Even a simple “thanks” or “me too” is always appreciated!

RADIANCE LIGHTROOM PRESETS
32 premium presets designed to instantly give your photos a soft and dreamy glow in one click. Works with a variety of colour schemes.

Thanks for this advice. I’m quite new to editing and often get the feeling I’m doing to much with the sliders.
You are welcome Melissa. It’s funny how when we process photos, it’s almost like our eyes get too used to it, we get de-sensitized or something. Often I’ll process a photo and then the next decide I went too far and I’ll have to dial it all back. A little really does go a long way.
Excellent article and advise, thank you so much Anne. Such a hands-on tool!
Thank you
So glad you found it helpful JC, thank you for taking the time to let me know!
Sagacious advice
Many thanks Kapil!
Obrigado, Anne. Há anos trabalho com PHOTOSHOP, faço manipulações, mas não conhecia a dica que vc deu sobre seleção de areas para aplicar nitidez no Raw. Valeu muito, anotei aqui para usar, Usava mascaras,mas isso é uma grande dica. Mais uma vez,obrigado
Hi Joao, You are most welcome! Now that it is so much easier to make selections in raw, I love to process this way. I usually select the sky and make adjustments, and then I choose “duplicate and invert selection” to adjust everything else. It has completely transformed my workflow. I’m so glad you found that tip helpful and I appreciate your taking the time to let me know.
Google translate:
Olá João, de nada! Agora que ficou muito mais fácil fazer seleções em RAW, adoro processar as imagens dessa forma. Normalmente, seleciono o céu, faço os ajustes e depois escolho “duplicar e inverter a seleção” para ajustar todo o resto. Isso transformou completamente meu fluxo de trabalho. Fico muito feliz que você tenha achado a dica útil e agradeço por ter dedicado um tempo para me contar.
Really enjoy your tutorials Anne…thanks for the input…I’m in my 80s and don’t take many pics now but I spend more time restoring very old photos which I enjoy doing for others. I’m using a stand alone version of PSE and it still does a great job with a little patience it’s great what can be accomplished…cheers to you and keep up the good work…
Al from Aus.
Hi Al, I have been doing some photo restoration myself lately. I’ve tried a few different software packages, and sometimes they work really well, and sometimes not so much. I’m hoping that in the next year or so the software will improve so it does a more consistent job. Sometimes people’s faces go wonky, and that is not okay! But yes, if you want to just sharpen things up a little and get rid of dust and scratches, I’m sure PSE works just fine. I like the restoration tool in Luminar and have had some good results with it. Not every time though, it can be hit and miss depending on the photo. I did a blog post and video on it if you are interested.
https://blog.annemckinnell.com/2025/11/25/restoring-100-year-old-family-photos-with-luminars-new-ai-tool/
Cheers Anne…I’ll check it out
Great info, thank you Anne!!!! and as always Beautiful Photographs!!!
Thank you so much, Jon, your comments are always appreciated!
Anne
I have long enjoyed your posts and photos. This is a great post for beginners. I spoken with so many people who are content with just doing what the camera does. They think post processing is either something so complicated that it should be left to pros or that it is not worth the effort. Your stressing the Less is More Philosophy is something that many people would benefit from.
You have so many places that you can adjust, so many sliders to do this or that. if you do all that you are almost guaranteed to ruin a good picture
Thanks as always.
By the way I am still using the last freestanding Photoshop that was released. When they switched to the on-line version I was stuck taking many photos in places I could not access on-line. What I could do still lifted many pictures.
Hi Rick, that is so true! It really doesn’t have to be that complicated. These programs like Lightroom and Photoshop are capable of doing a lot of things – and most of them we don’t even need to know about. Just a few of the basic sliders make a huge difference. I think that is awesome that you are still using the stand alone version of Photoshop. Honestly, I would have done that too if I wasn’t making videos. The problem you’ll encounter is that if you get a new computer, it might not support the old program. But use it as long as you possibly can. Thanks for your great feedback on the post, I appreciate it.
Thanks so much for this blog post Anne. Unfortunately I have made all of these mistakes along the way to learning Lightroom processing , and although I have gained a good deal of experience with my photo processing , I still very much appreciate all of your articles regarding using Lightroom . I very much agree with your comment about enhancing a good photo rather than trying to recue a bad one . Thankfully we can go back in time and reprocess some of those earlier mistakes !! Thanks for a great blog post .
Hi Ken, I think we all make these mistakes at some point. Sometimes we don’t realize we are making them until someone points it out. Yes, it is a good thing that we can go back and reprocess photos, I have done that many many times! Another good reason to keep them all. You never know – a problem we can’t solve today we may be able to solve in the future.
I really want to make a new version of my Lightroom course. I took it out of my store because it was old, but I’m hoping to make a new version this year.
Thanks for your comments, always appreciated!
Thanks Anne – love getting tips on post-processing.
Hi Michael, You are welcome! I try to make these tutorials a good balance between field techniques, camera techniques, creativity and post-processing, so hopefully everyone finds something useful. I’m glad you enjoy these ones, thanks for your comments.
Thank you! Always understandable and helpful.
Thank you very much Vicki, I appreciate it!
Great and so practically helpful. Thank you very much Anne. Much appreciated.
You are most welcome Steve, I appreciate the kind feedback.
This is extremely useful, Anne! In some cases I realized I was on the right track. In others I learned techniques that I need to master. I’ve also taken up watercolor painting and the same rule applies: don’t overdo it!
Hi Nancy, Watercolour painting – another reader emailed me not too long ago and she mentioned watercolour painting too. She told me about a book she’s using called In Bloom:A Step-by-Step Guide to Drawing Lush Florals. Just thought I’d pass that along in case you are interested. It looks like fun! I’m happy to hear you found the post useful, thanks for letting me know, I appreciate it!