
Have you ever made a photo of a stunning scene, only to discover the final shot fell flat?
It’s frustrating, right? You were standing in front of this incredible view, the kind that made you stop in your tracks, and yet—somehow—the photo just doesn’t capture the magic.
I’ve been there. We all have.
But over the years, I’ve realized that great landscape photography isn’t about luck, or even the most epic locations. It comes down to a handful of simple ingredients. If you can get these four things right, your photos will instantly improve—no expensive gear upgrade required.
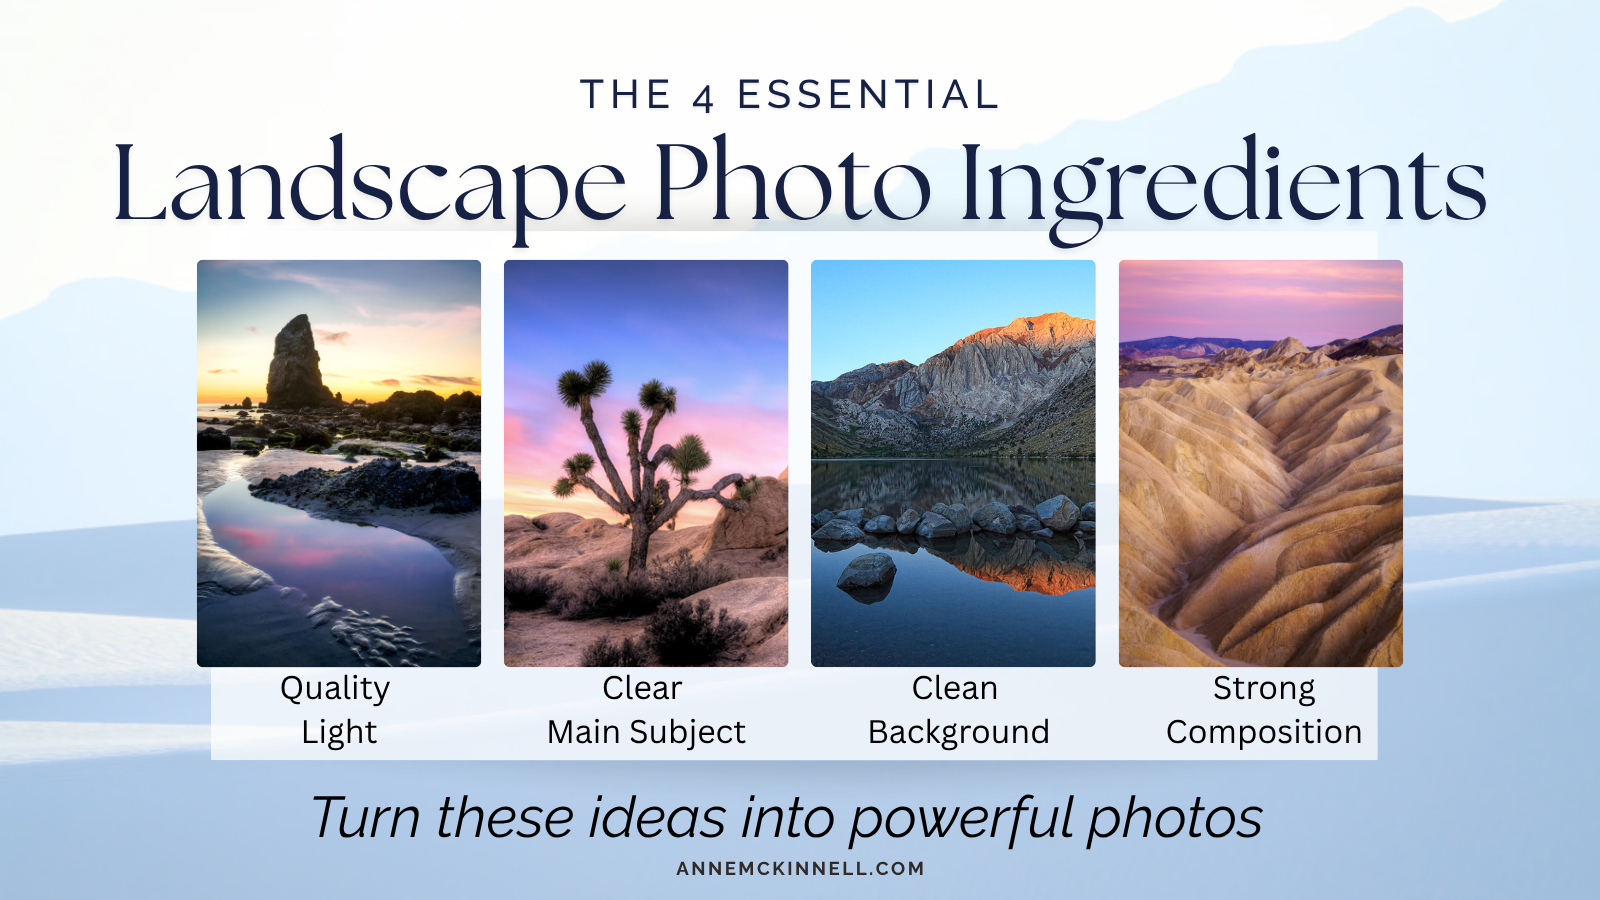
Ingredient #1: Quality Light
If you only pay attention to one thing in landscape photography, let it be light. The most breathtaking location in the world can look dull under bad light, while even the most ordinary scene can be transformed by a perfect glow.
That’s why photographers chase golden hour—that soft, warm light right after sunrise or before sunset. Or why I love blue hour—those moody, quiet moments of twilight that make everything feel cinematic.
But here’s the thing—I don’t believe in bad light. It’s all about knowing how to work with what you have:
- Harsh midday sun? Use it to play with deep shadows and contrast.
- Overcast skies? Perfect for soft, even light in close-up shots.
- Stormy weather? Some of the most dramatic landscapes come from dark, brooding clouds.
The trick is to notice what the light is doing and work with it instead of fighting against it.

Ingredient #2: A Clear Main Subject
This one gets overlooked all the time. I’ve definitely made the mistake of pointing my camera at some beautiful landscape, hitting the shutter, and realizing later that… well, nothing in particular was actually the focus.
A great landscape photo needs a main subject—something that anchors the image. It could be a lone tree, a winding river, an interesting rock formation, or even a person standing in the scene.
When I arrive somewhere, I ask myself: What is it about this place that grabbed my attention?
That becomes my subject.
And then I take it a step further: What is it about this subject that I love?
Is it the way the tree bends? The way the lake is perfectly still? The way the mountains fade into the distance? The more specific I get, the stronger the final image will be.

Ingredient #3: A Clean Background
Just as important as what’s in your photo is what’s not.
Even if you’ve got great light and a strong subject, a messy background can completely ruin the shot. It’s like trying to have a deep conversation in a crowded, noisy café—too much distraction, and the message gets lost.
That’s why I always take a second to look at the background before I hit the shutter. If there’s something distracting, I’ll:
- Move a little to the left or right to eliminate clutter.
- Get lower to use the sky as a clean backdrop.
- Change my angle to frame the subject more clearly.
The goal? Simplify. A strong, intentional composition will always beat a chaotic, “everything and the kitchen sink” shot.

Ingredient #4: Strong Composition
I like to think of photography as the opposite of painting. A painter starts with a blank canvas and adds elements, building a scene from nothing. A photographer has a scene full of details and must carefully subtract until only the essential elements remain.
That’s where composition comes in.
Some things I always keep in mind when framing a shot:
- Leading lines – Roads, rivers, and ridges draw the eye through the image.
- Curves & movement – A winding path or a crashing wave adds energy.
- Patterns & textures – Repeating elements make for interesting visuals.
- Color & contrast – A pop of color or strong contrast can make a photo stand out.
- Framing – Using trees, rocks, or doorways to frame a subject makes the shot feel more intentional.
Great composition isn’t about following rigid rules—it’s about making deliberate choices. What stays in the frame? What gets left out? When you get that balance just right, your image won’t just be seen—it will be felt.

Bringing It All Together
When you’re out making photos, keep these four essential ingredients in mind:
- Light – Work with it, not against it.
- Subject – Know what your image is about.
- Background – Keep it clean and distraction-free.
- Composition – Arrange elements to create a strong, balanced frame.

The real magic happens when all four come together. Sometimes it takes patience, and sometimes a little luck—but when it happens, you’ll know.
That’s when you’ve captured something truly special.
I’d love to hear how these four ingredients show up in your own creative life. Is there one you’ve leaned on lately, one you resist, or one you’re learning to trust more deeply?
Even a simple “thanks” or “me too” is always welcome. I really appreciate hearing from you!
I’m really enjoying your articles. Your writing is simple, direct, well-organized. Photography is loaded with technical terms and language that can be befuddling. It’s sorta like a poorly composed photo — the reader (viewer) gets all confused about where to look, what’s supposed to be really important, etc.
I do have one question, out of curiosity, not criticism. The final large photo at the end of the story, I really like the way the cactus’s “arms” seem to be gesturing. But I find it a bit “off” that the top is whacked off.
Now, if the cactus was really ridiculously tall or had something farther up the barrel that would have distracted from the image, then the scene is captured marvelously as is. But I wondered if it could have worked as a vertical, with the cactus scooched over to the left. I’m always looking for vertical landscapes!
Again, thanks for your writing!
Hi Cathy, thank you very much, I’m glad to hear you enjoy my posts! About the cactus photo, that is actually one of my favourite cactus images! I am always seeking out bold compositional choices for more unique images, and this is one of those compositions. You’ve given me a great idea, I should write a blog post on this. Yes, I could have included the whole cactus, but if I did that the layer of fog would have been invisible, the mountains in the background much smaller, and the overall photo would have been similar to many you have seen before. But you noticed this one. I don’t see it as the top being whacked off. I think you know what’s up there, so I’ve concentrated on the most interesting part of the scene. That’s my thinking anyway! I’m glad that you keep your eye out for vertical landscapes. Many people only think of going vertical when they have a tall subject, but I think it’s better to think about how you want to frame things, not just the shape of subjects. Thanks for your comments, they are always welcome.
Thanks for such a quick reply. I look forward to that blog post. CAM
Thanks for the great summary—it’s a perfect reminder of what to keep in mind when shooting landscapes. I’m heading to North Cascades National Park in about a week, so the timing couldn’t be better!
Fantastic, thank you very much Kathy, it’s great to know the tutorial is helpful. Have a wonderful time on your trip and if you put your photos anywhere online, I’d love to see them. Shoot me an email with a link.
Anne,
These are general comments regarding all of your tutorials and articles. The first time I ever commented on one of your articles was how to shoot a sunset image. Just having that bit of information of sunsets where you shoot a little bit right or left of the sun, and not directly at the sun has saved many a sunset image! Your work is exemplary and I always look forward to each new set of articles a tutorials!! All the best!
Respectfully,
Gary Sulcer Photography
Hi Gary, thank you so much for such wonderful feedback about my tutorials! It really makes my day getting comments like yours and knowing that all the work that goes into creating a tutorial is worth it. I’m so happy I can help people with their photography. Your comments are very much appreciated!
Thanks for your beautiful blog. We will be in the Broughtons soon and have taken notes on your anchorages and favourite spots. I’m also hoping to use your photography tips for my own amateur photography. Many thanks.
Hi Lorrie, Thanks for such a nice comment! It’s always great to “meet” like-minded people. You are going to love the Broughtons, it’s beautiful up here. We are here again this summer exploring some areas further north than where we went last year. Feel free to shoot me any questions you might have. I’m always happy to help if I can.
Concise and to the point.
Thank you Nick!
Thank you for the inputs. Very useful information.
Glad to hear it Miguel, thank you!
Excellent tips. Well summarised.
Many thanks Oscar, I appreciate your visit and comments.
Thoughtful article; beautiful examples, concise summary. Thank you.
You are most welcome Jim, I am glad you enjoyed it! Thanks for the wonderful feedback.
I love the short read with beautiful examples.
I’ll be watching for the next article.
Thank you very much Denny. It’s nice to know that the length was good. I tend to write with very little fluff and just get to the point. I appreciate your comments.
Nikon shooter and Pulitzer Prize winner in photojournalism John White got this advice from his father: “Make a frame a day,” and that is never more true than in landscape photography. No two days are alike and the more I shoot the more I learn, even when I revisit previous or favorite locations. The four elements in the essay should be tatooed on our arms. Thank you for great reminders.
Hi MJ, that is some great advice! It can be taken two ways though, and I like them both. On one hand, it reminds me the old film days when we were more conservative with our shutter finger. We had a limited number of frames and a photographer really had to make them count. We didn’t just “spray and pray.” On the other hand, “make a frame a day” could mean getting out every day and keeping your eye and your technique in tune. I like that too. Sometimes I find I don’t shoot as much because I know what I am looking at is not going to be better than something already in my portfolio. But then I remember that I have to stay “in shape” and practice all the time otherwise I might miss an opportunity in the future. I love going back to locations I have been to before and trying to make something new (I actually have a whole tutorial on that!).
Thank you very much for your comments!
No matter how long you pursue this hobby it is always good to review your process and review the basics every so often. I have learned it is more important to go slow and plan your shot and using tips such as you describe. See the shot before the camera even comes out of the bag or off the hip. More planning, less shooting every which lens length and every which direction hoping to find something later, on the computer. Good tips. Agree…good phots can be found and captured all day long if you go slow and find the elusive composition and lighting.
Hi Paul, I agree, my best shots are always the ones I planned out. I often scout out a location, find the composition I want, and then wait for the light I want and hope it comes within a few days. Meanwhile I use whatever light I have to do other things. It is good to keep these tips in mind in case you get stuck with harsh mid-day light – instead of not going out at all, if you know you are on the lookout for shadows you are more likely to find a good shot.
Thank you for your comments, it’s nice to know a review of the basics helps the seasoned photographers too!
Nice summary of 4 important things to think about when I photograph landscapes, Thanks.
Thank you Tim, glad you found it helpful!