
How to Photograph Flowers
Like an Artist
Last Updated: March 12, 2026
In this installment of “Great Subjects”, we’re going to look at how to approach flower photography for more creative and interesting photos that go beyond snapshots.
I’ll be honest. I used to think flower photography was kind of lame. I mean, how hard is it make a pretty photo of a pretty flower? Not hard at all. But what is more difficult is making a truly artistic, unique photo of a flower that is not a snapshot. Are you up for that challenge?
It wasn’t until I took up this challenge myself that I became hooked. Now it all makes sense. Not only is it accessible, it’s very rewarding when you can come away with something truly artistic. And being outside among the beautiful colours makes me happy.
Once I took up the challenge of making a truly artistic flower photo, I got hooked.
Perhaps flower photography is so popular because anyone can point their camera at a blooming rose, hit the shutter, and get a pretty good snapshot. But creative and compelling photos must go beyond snapshots. Just pointing your camera at a pretty flower wont transfer the innate beauty of the flower into your photograph and often you’ll be left with lackluster imitations of the splendor you’re trying to capture.
If you want your image to do justice to the earth’s wonder, you need to change the way you approach the whole process. Rather than playing the role of an observer by taking a photograph, place yourself in Mother Nature’s shoes instead, and make the photograph. When you fully involve yourself in the construction of the image, your choices will affect the visual impact the photograph carries. In this way, you can make a photograph that is as exquisite as the subject itself.
Making purposeful choices about what you are trying to convey in your photographs is what is going to help you transform from snapshot taker to photograph maker. If you just see a pretty flower, hold up your camera and snap, you’ll get a snapshot. But when you take the time to decide what is important, what you want to convey, and how you will convey it, you’ll start to notice your photographs improving.
The only thing standing between you and incredible flower photos is a little bit of thought, technique, and practice. This holds true for all types of photography, but flower photography is a good place to start putting the concepts into practice and then you can apply what you have learned to all of your subjects.
To begin this transformation, simply ask yourself a few questions: What is so special about this flower? What attracted you to this one? What makes it better than the other ones around it?
Maybe it has perfect form, or the light is hitting it just right. Look closely at the flower and figure out its true significance and what you want to say about it. These are the qualities that you want to emphasize through thoughtful composition and technique.
Every image has a message, but it doesn’t necessarily need to be complex. In flower photography, it is often as simple as, “These colours are awesome!” or “Check out the texture of this pollen”. Or, it can be conceptual like life blooming in the sun, or the perfection of nature. Whatever it is, the best pictures are created when the photographer knows the message or the concept before making the image. At that point you can decide which type of light is best, what kind of composition you want to use, and what techniques are appropriate to convey your message.
Diffused Light
The quality of the light in a scene deeply affects the overall mood of the photograph. Flowers are most often photographed under diffused light because it hides their blemishes and makes them look gentle, delicate, and serene. The light is dispersed and shadow contrast is low, making plants look silky, delicate, and healthy.
Because the light is less intense, you’ll be able to use a wider aperture to achieve a shallow depth of field to blur the background and increase the overall softness of the image. Overcast weather is perfect for this type of photograph, but even on a bright, sunny day you can find diffused light in the shade, or when a cloud drifts by overhead.
(Pro tip: don’t have a diffuser? A sheer white scarf or even a reusable shopping bag can work in a pinch.)
In a pinch, you can also place a diffuser between your subject and the sun to soften its hard light.
Dramatic Light
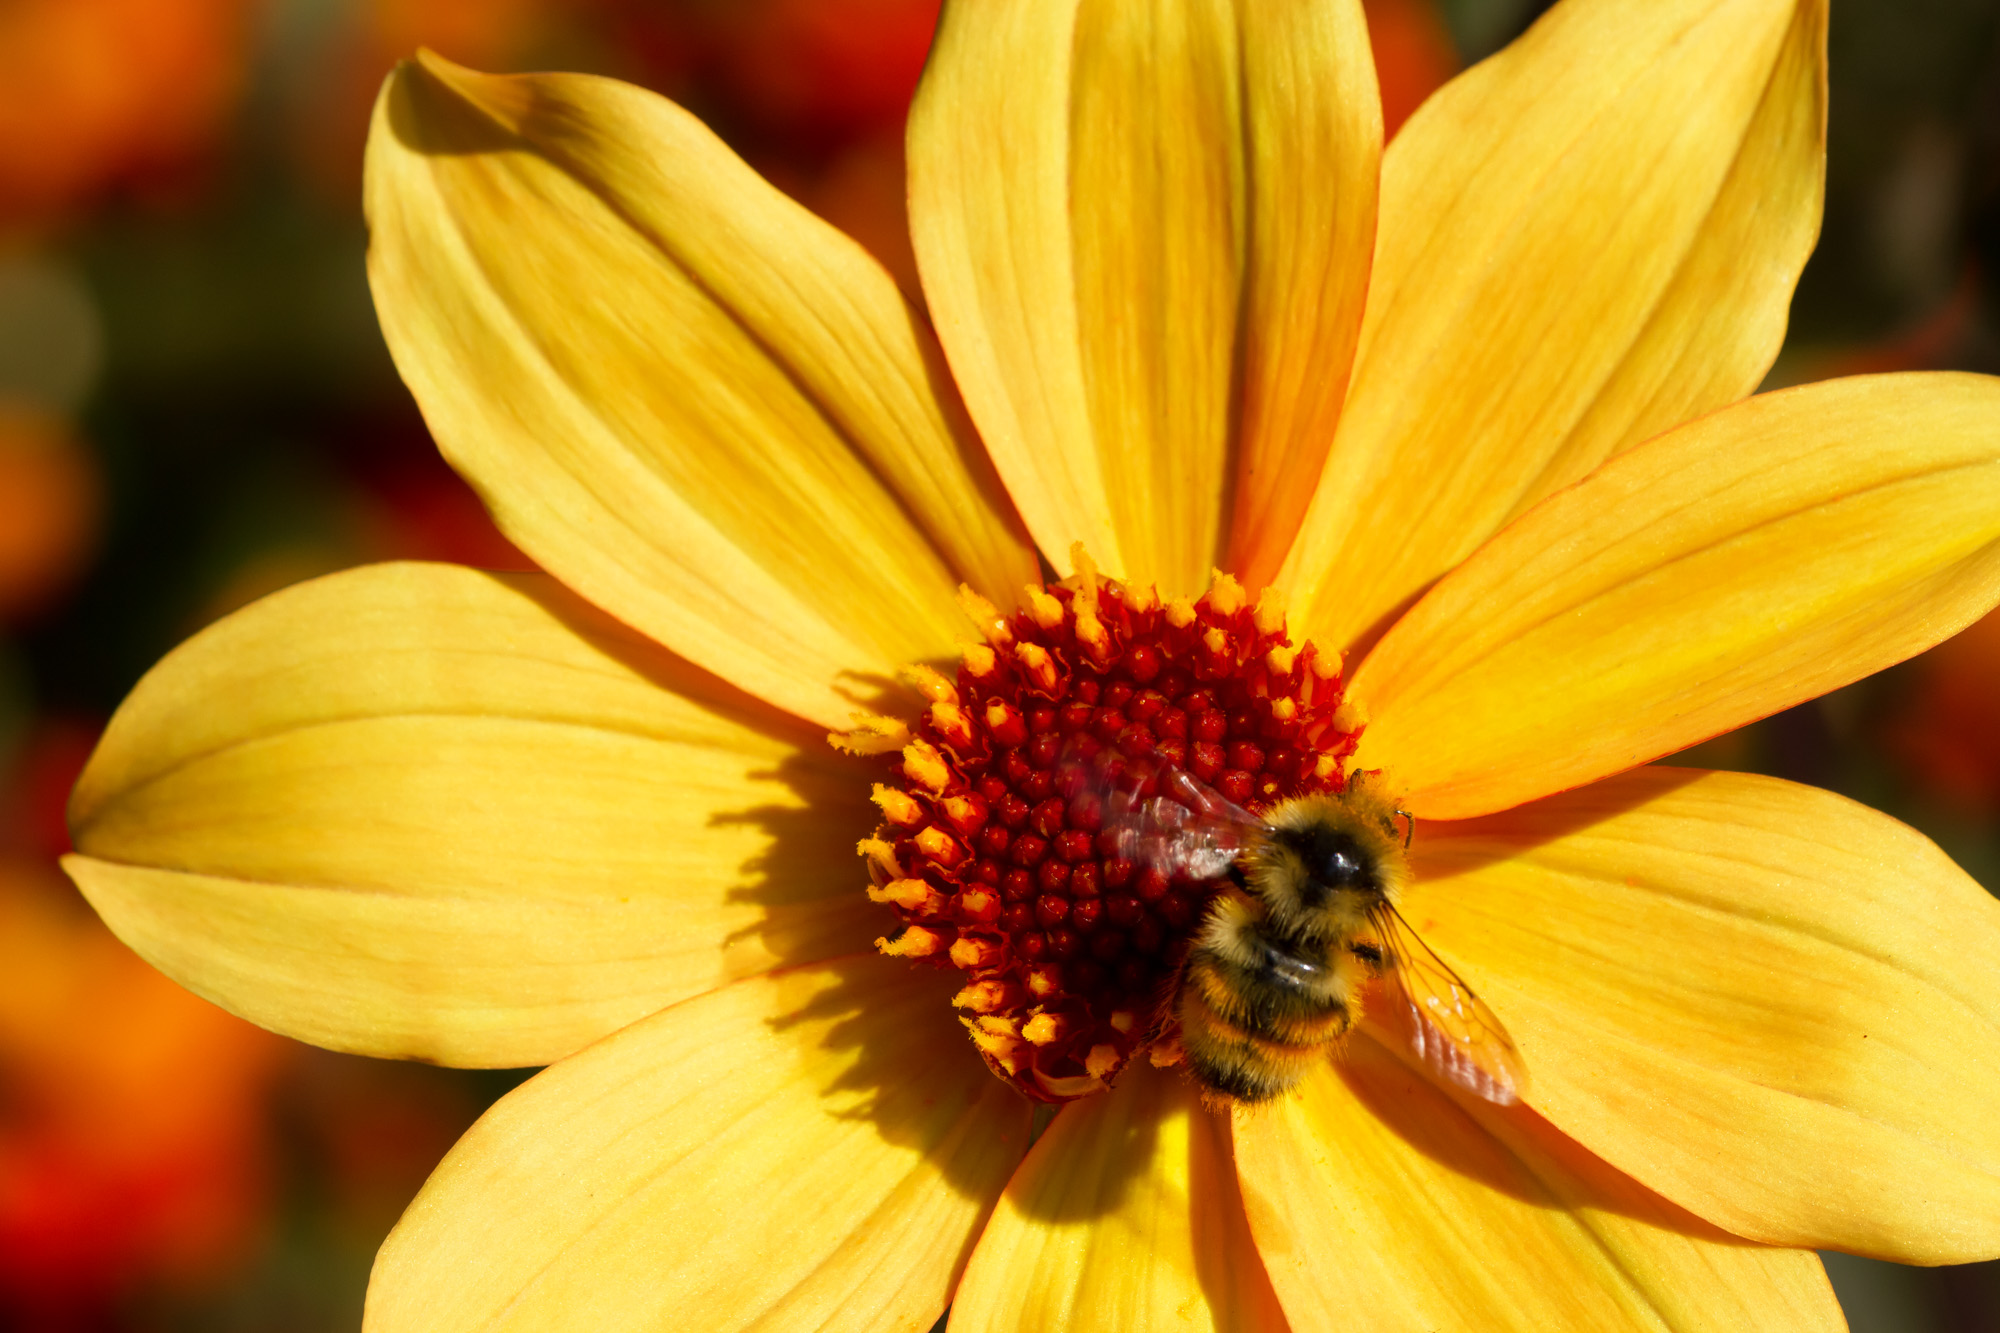
Using diffused light may be the most popular way to photograph flowers, but it isn’t the only way. If you want to create more dramatic images, use more dramatic light! Dramatic light is bold with high contrast and strong shadows.
Look for flowers that are lit differently than their surrounding area, particularly ones that are in direct sunlight and have a dark, shady background. Hard light is less forgiving than soft light because you cannot hide anything, so you’ll have to make sure you pick flowers without any flaws. Finding the right subject is half the battle!
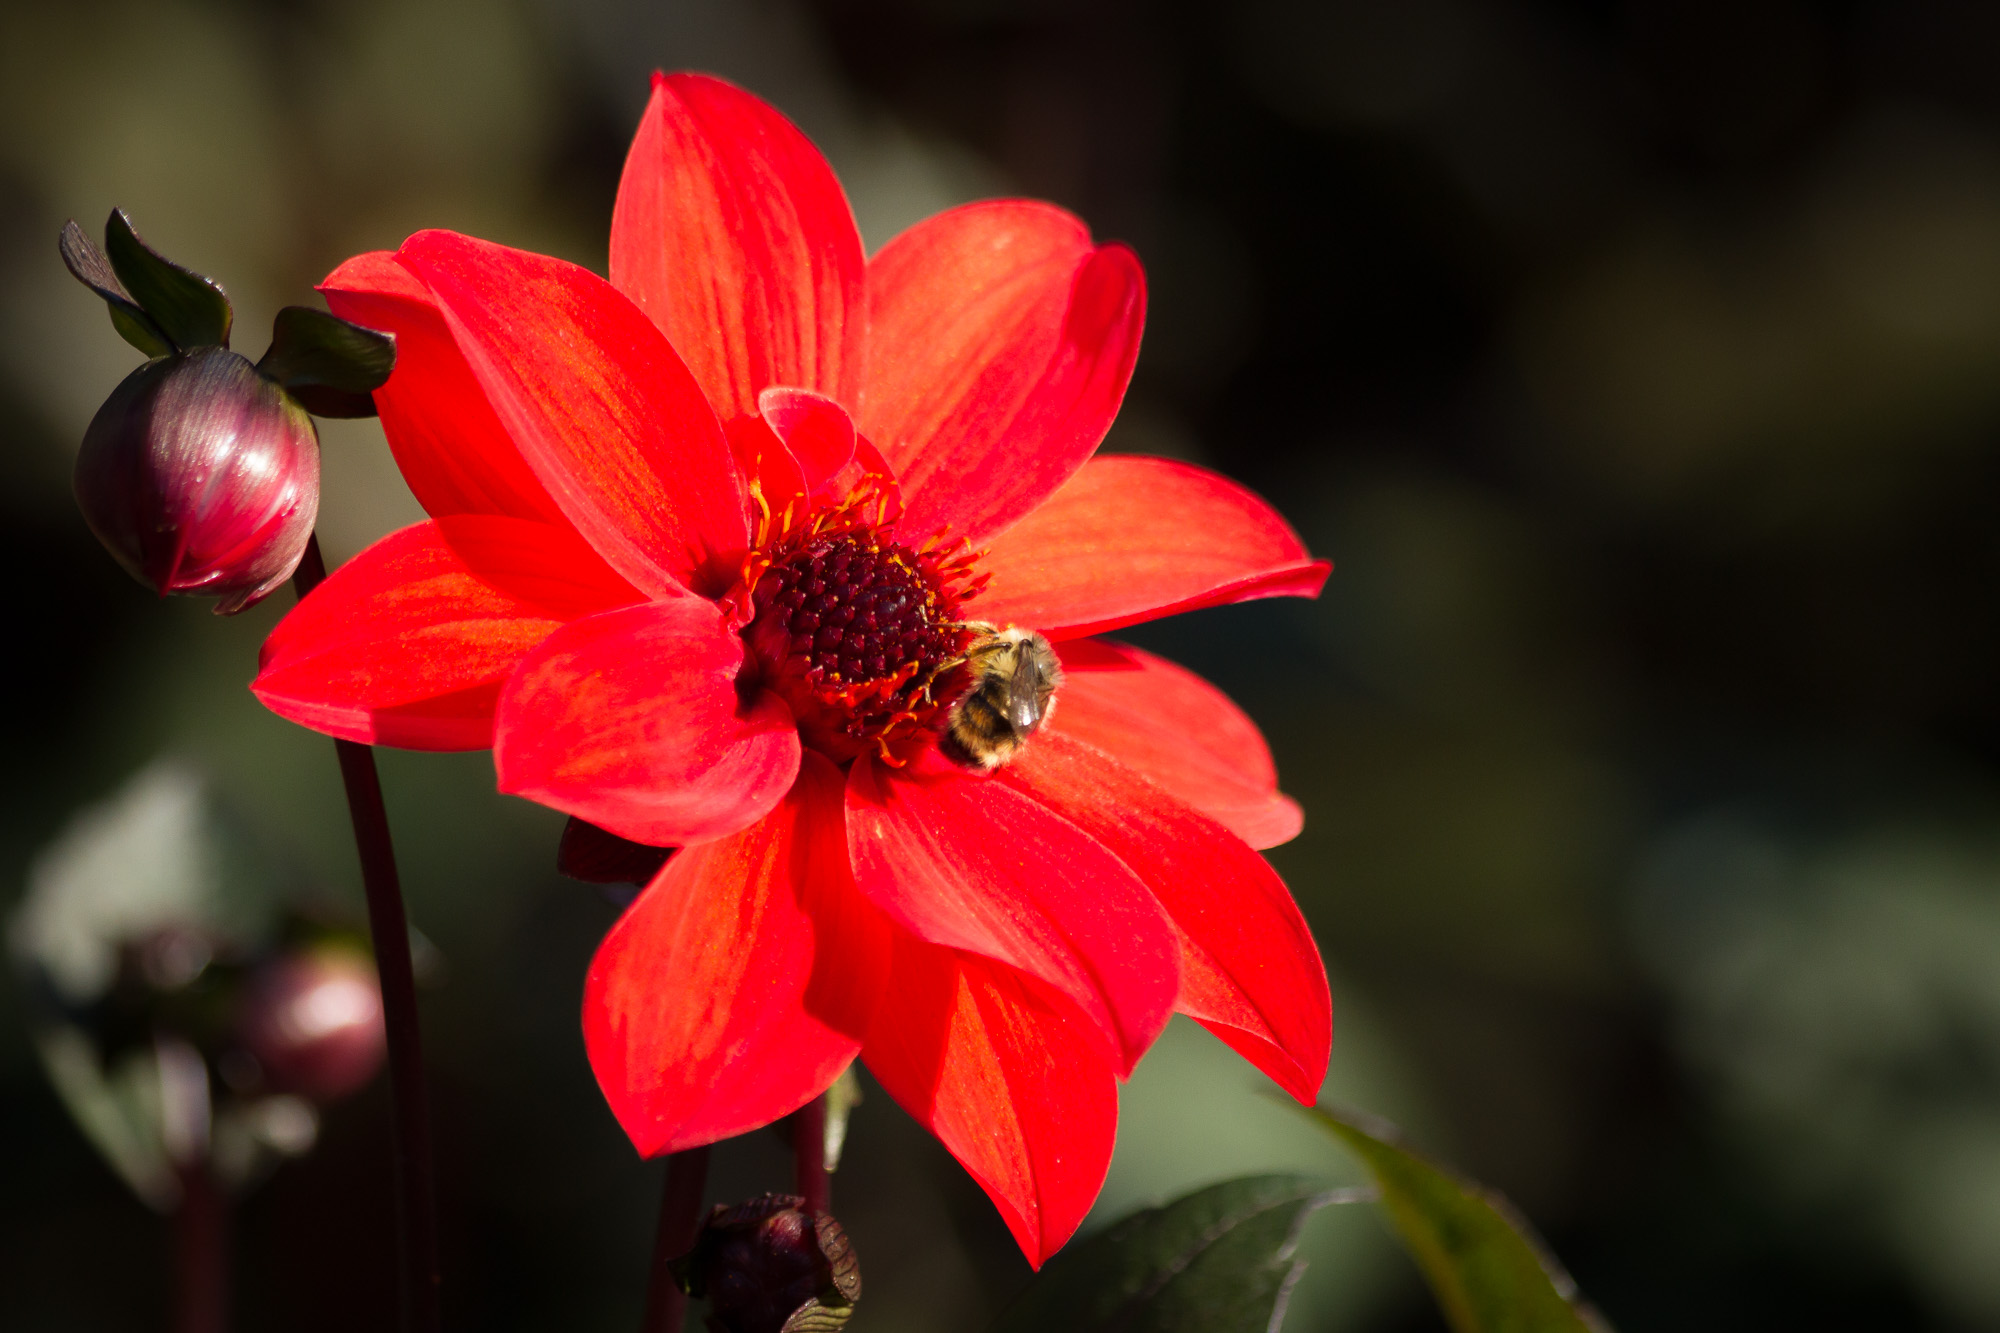
When working with dramatic light, you need to pay particular attention to your camera angle because sharp shadows can make or break an image and should be placed thoughtfully within the composition. For instance, if you’re shooting with the sun directly in front of you, you won’t see the shadow falling on the other side of the subject. This can sometimes make a flower look flat and boring, because shadows give a photograph a sense of dimension that draws the viewer in. If you move slightly to one side, however, the shadows will become more visible. Remember that shadows create a feeling of drama, but can also completely obscure parts of your subject. You should always think about where they are when framing your shot.
Keep your eyes peeled for flowers in the sun with a dark shaded background. Very dramatic!
Exposure is especially important when working with high contrast scenes. Sometimes your camera’s meter can be confused when part of the scene is bright and part is in shadow. The most important thing to remember is that the main subject should be properly exposed so use spot metering to meter on the flower and let the background fall where it may.
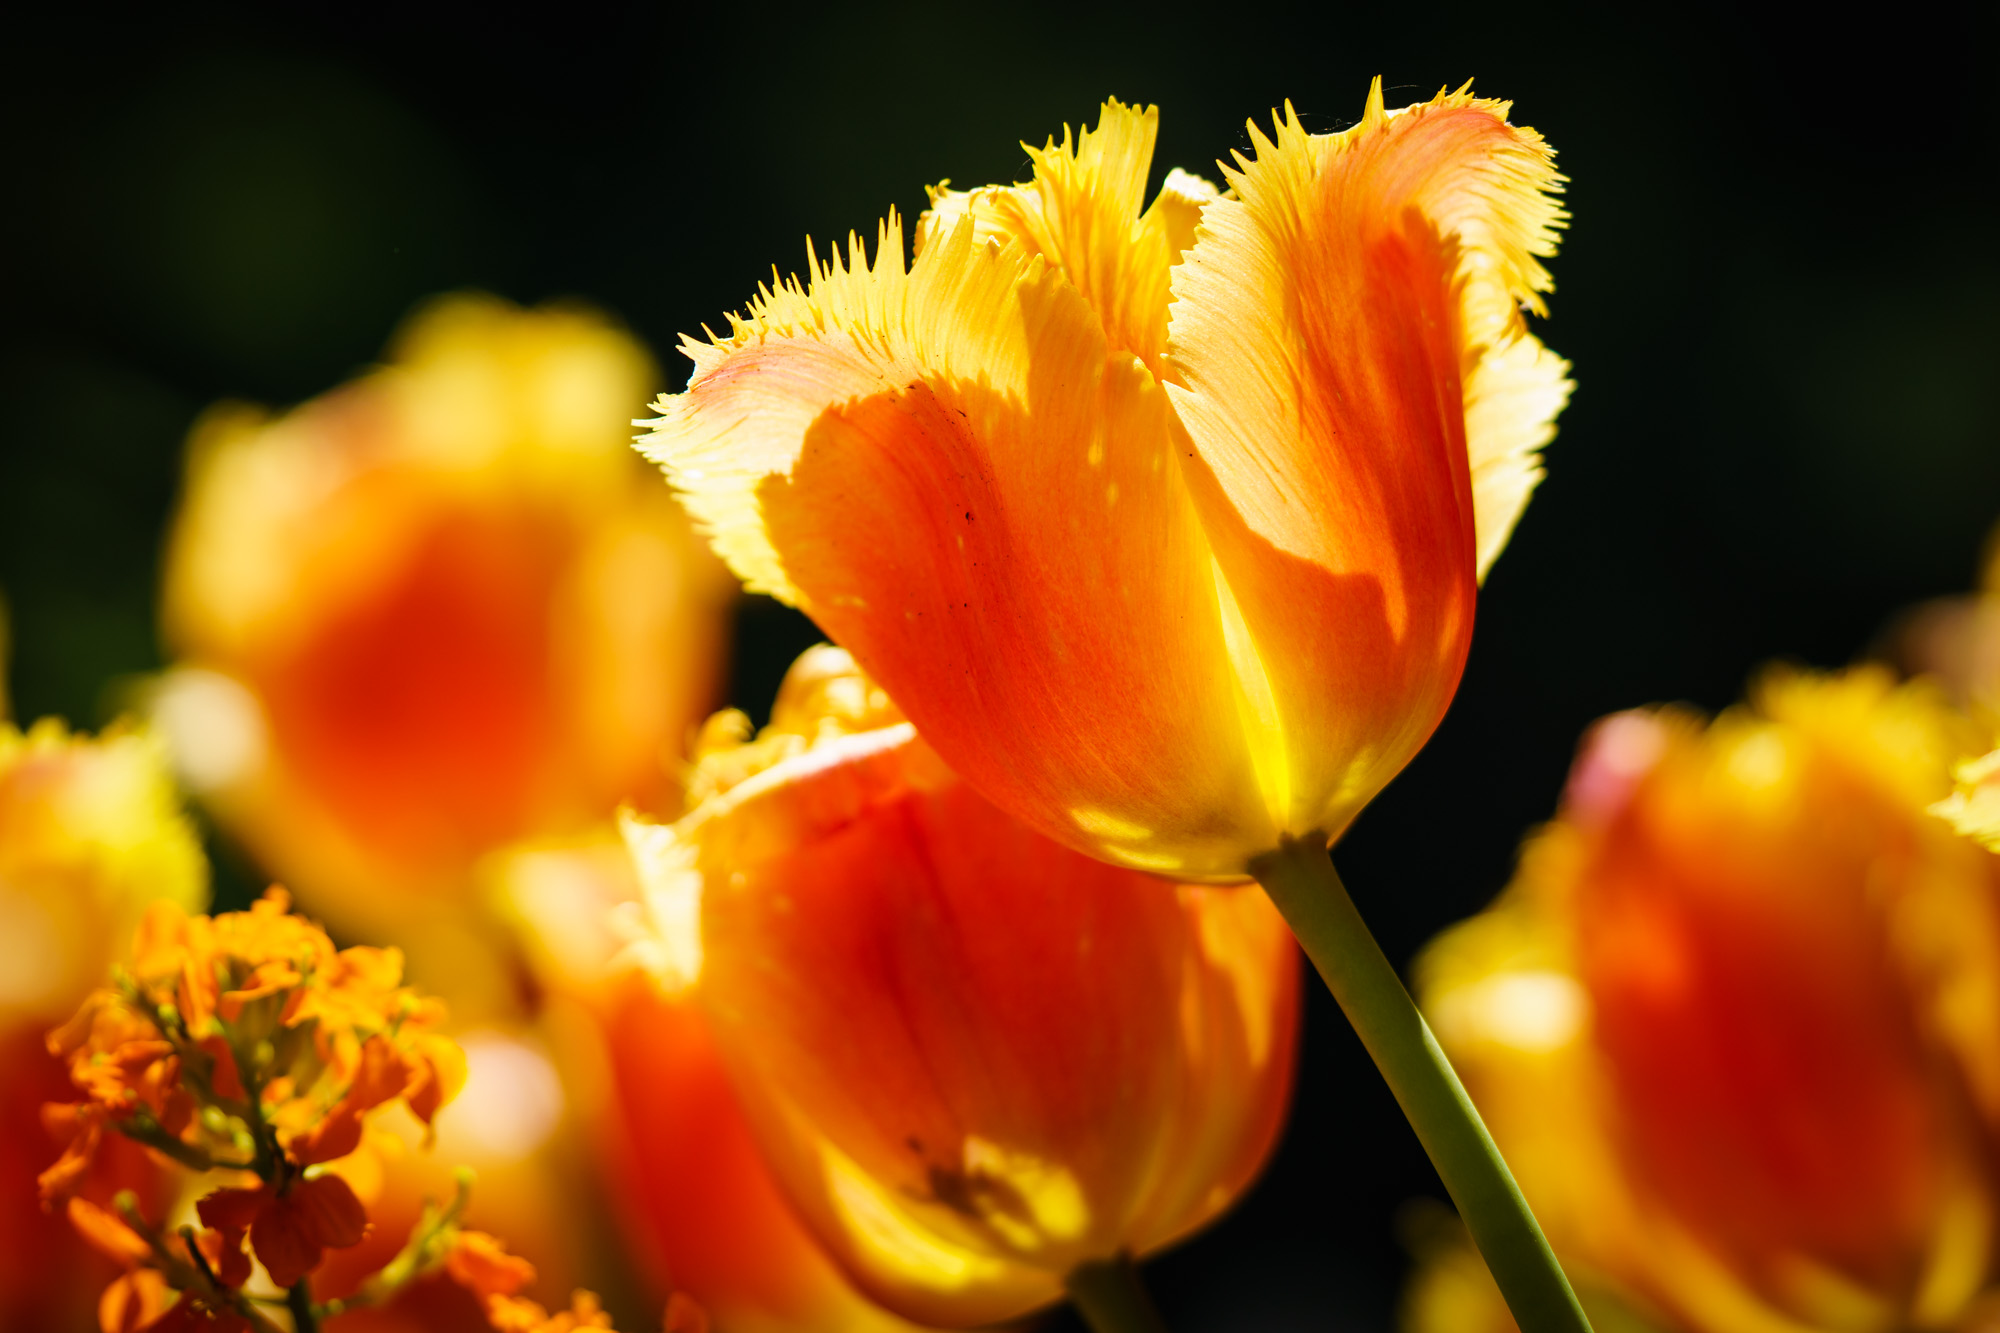
You can also use backlight to create dramatic flower photos. Because the flower’s petals are translucent, they will often glow when you position the light behind them. Backlight can also illuminate what is inside the plant – such as the veins that bring them life – much like a simplified x-ray. These types of compositions can be very dramatic because they show us a familiar subject in a way we may have never seen it before.
The Environmental Portrait
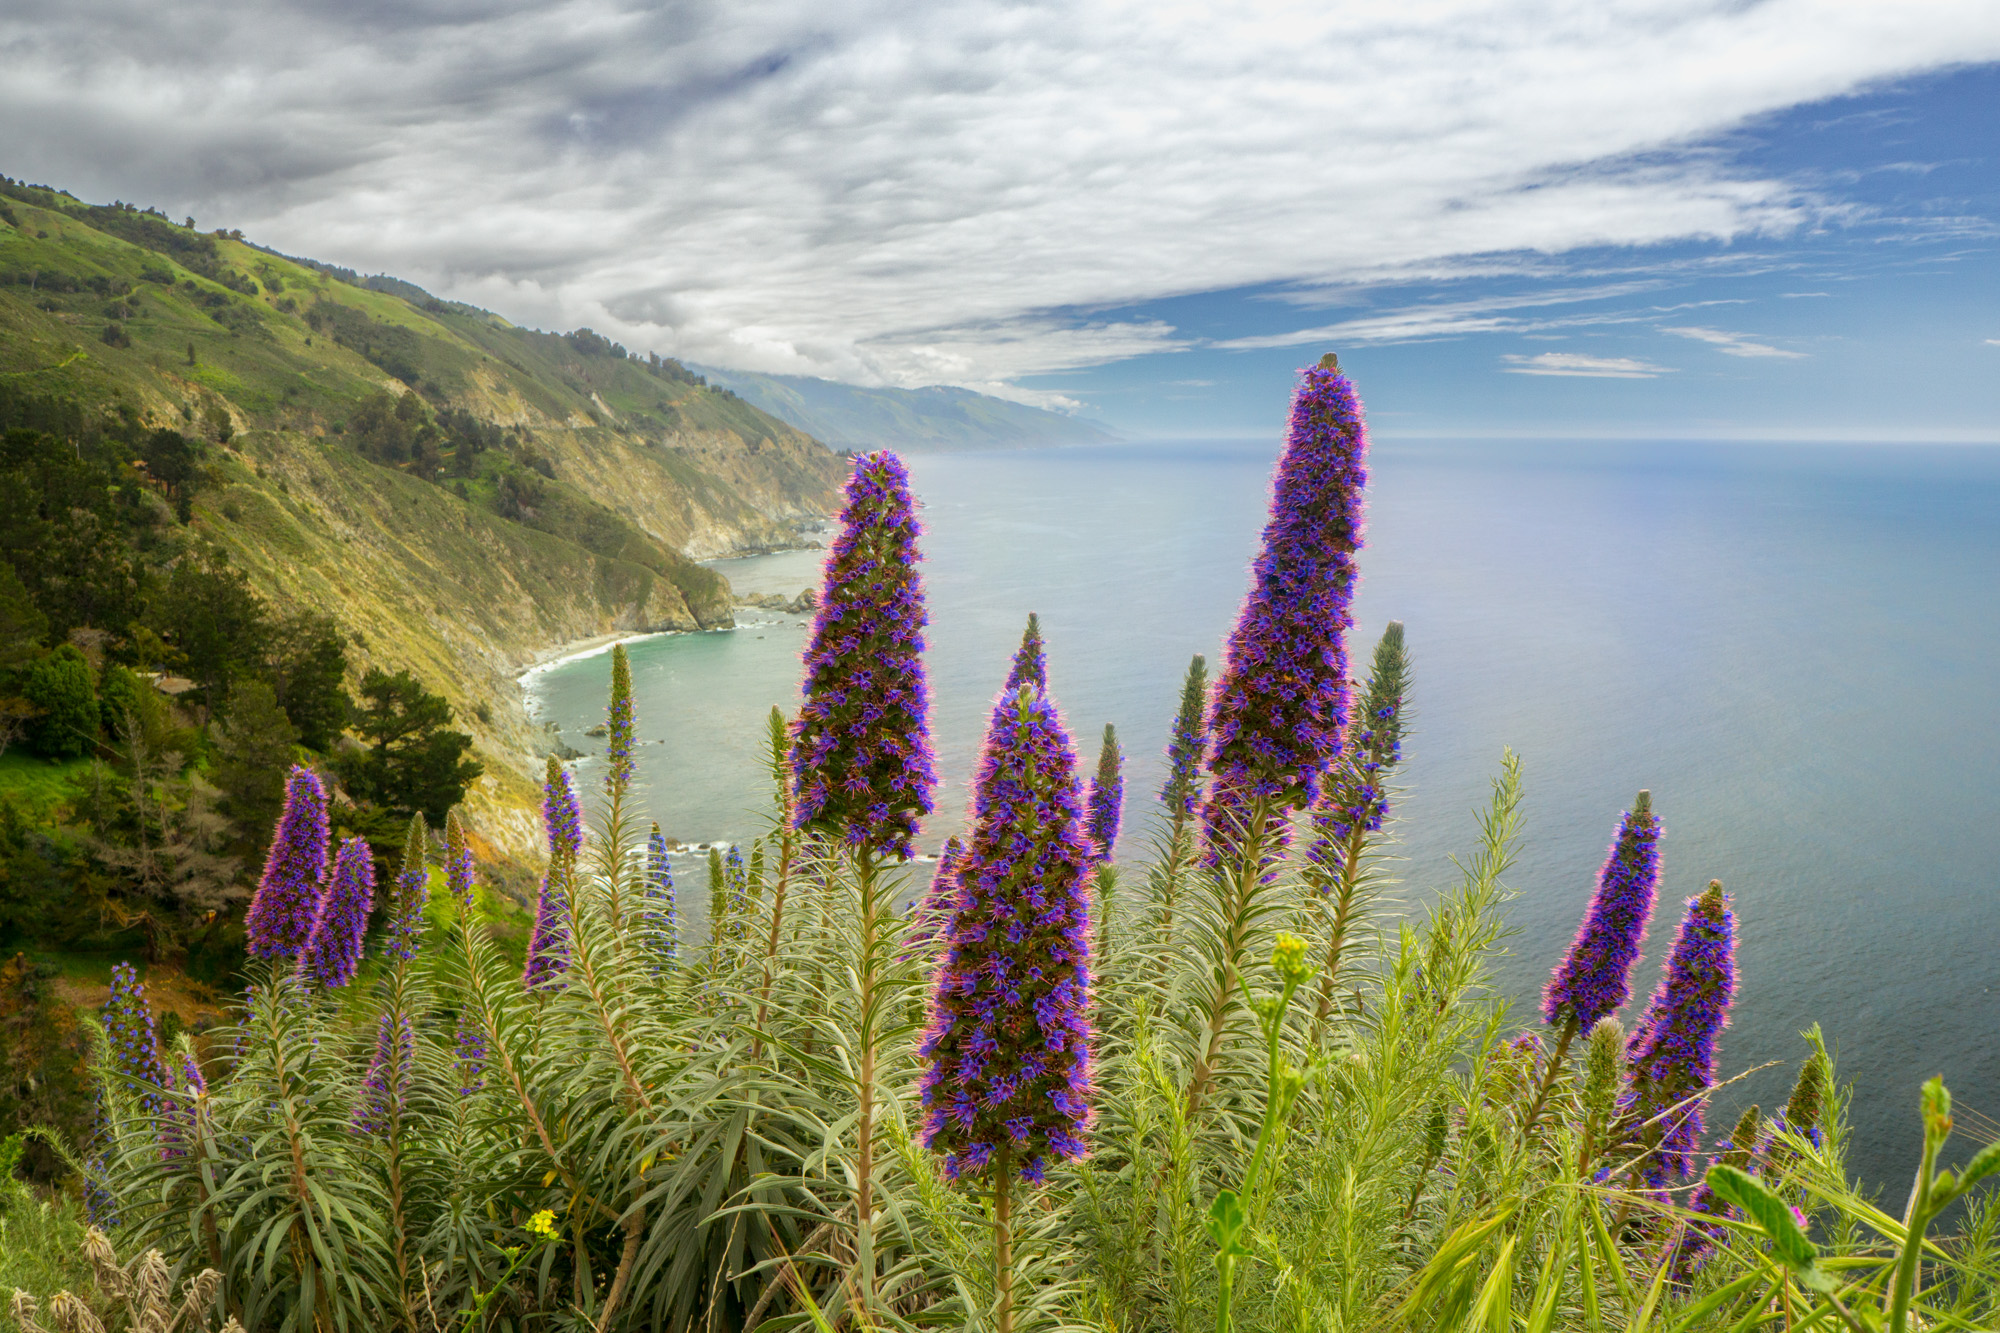
Most flower photos that we see are portraits where a single flower is the main subject. But you can also explore the flower and its environment by including the landscape that the flower is in – the flower and its context. The flower should still clearly be the main subject, but instead of blurring the background or having a dramatic black background, add a sense of place to the image.
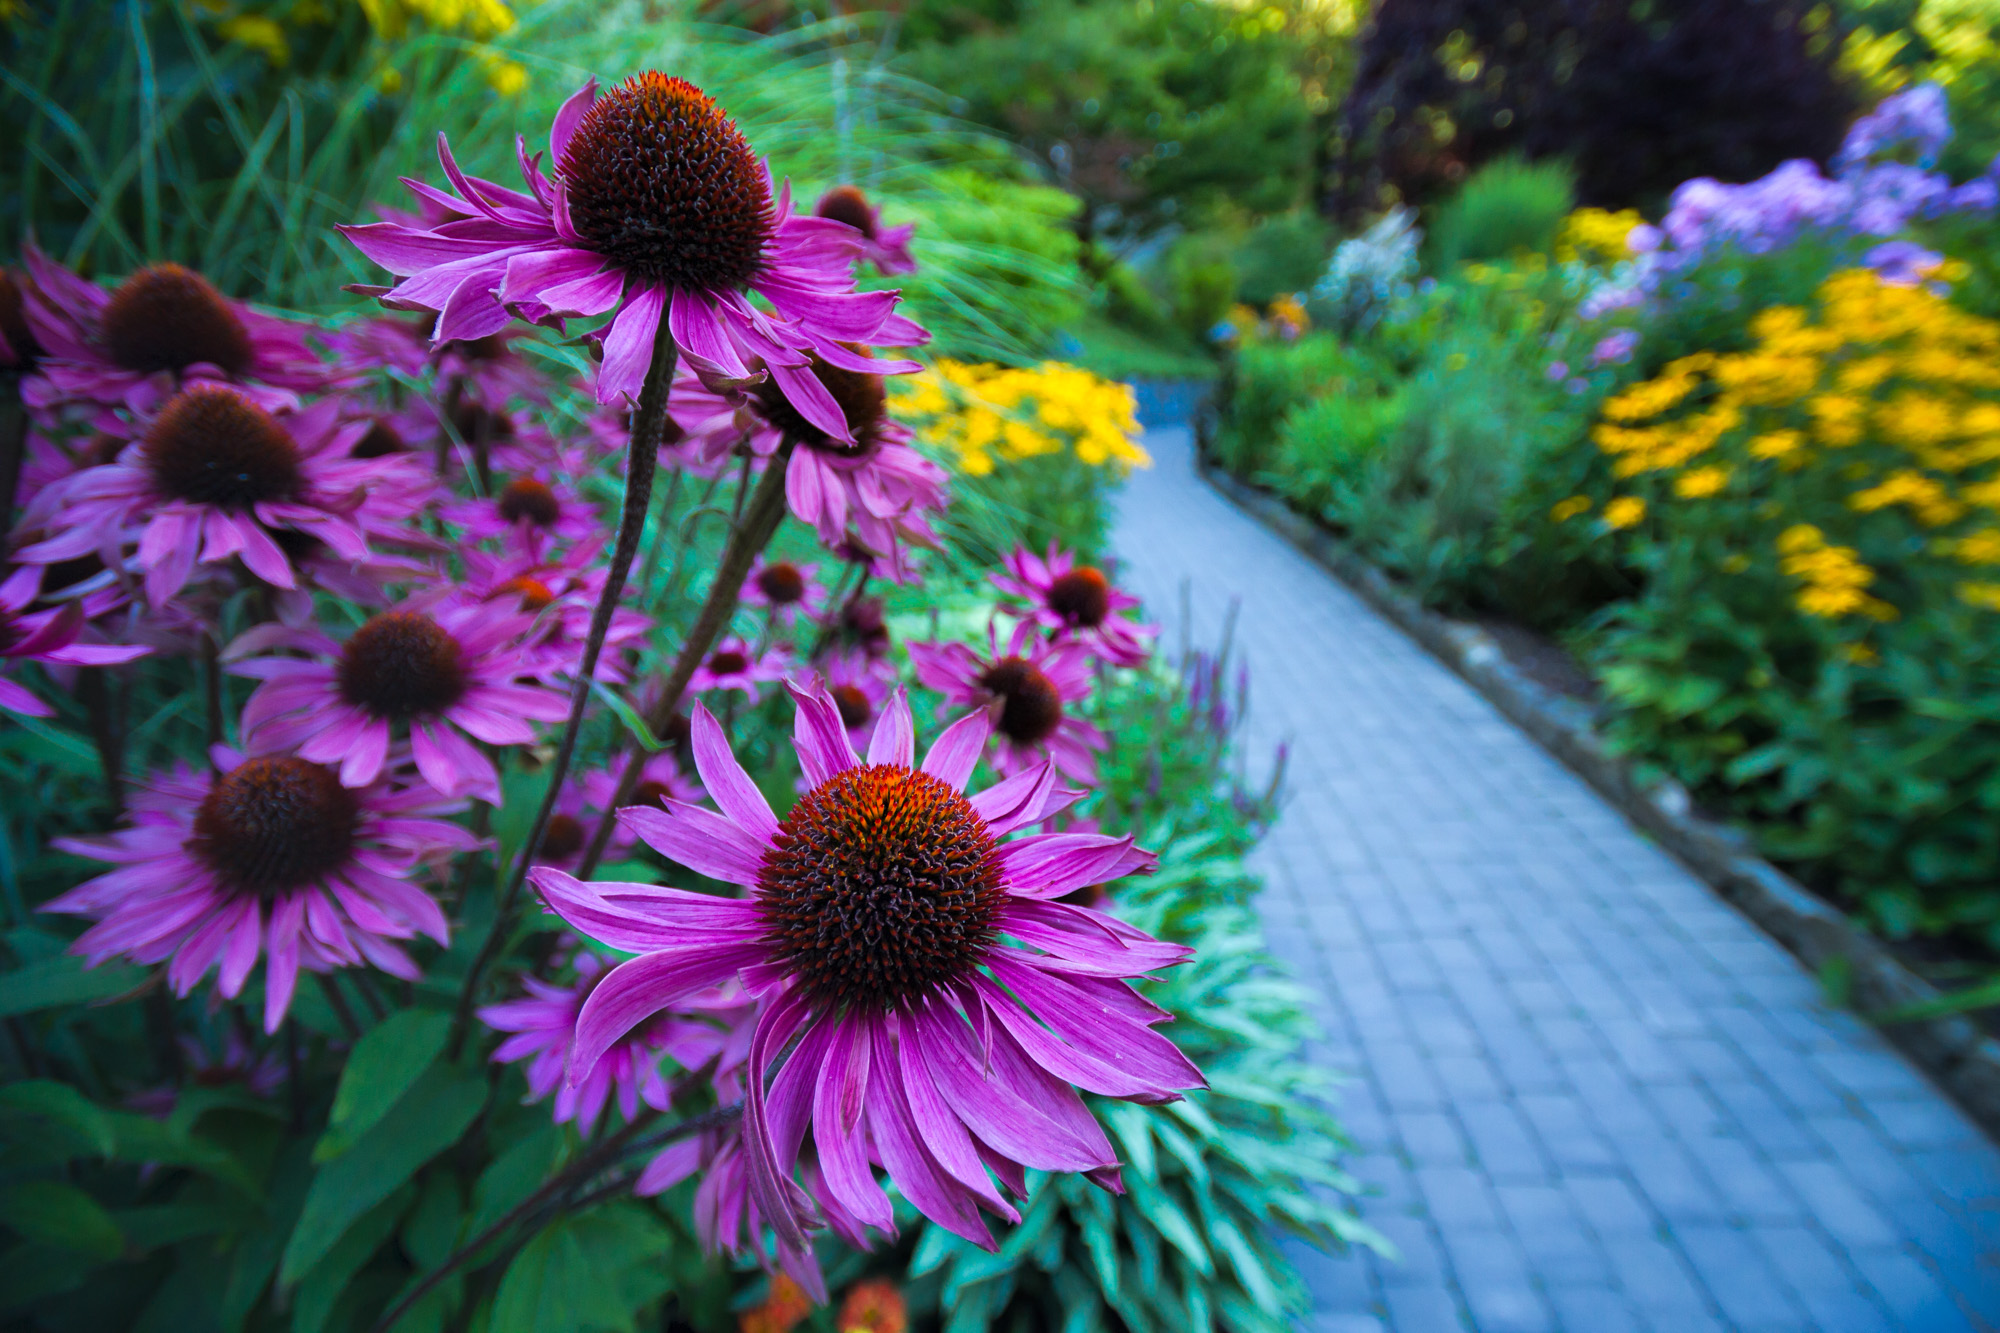
When making environmental portraits, your composition is going to be more complex to show the flower and the landscape. We’re not just filling the frame with the flower anymore.
The first decision you need to make is how you want to frame your photograph. The frame is the confines of the picture – the box that contains your image. When we talk about framing your image, we’re referring to arranging your subject within that area, including how many elements are visible, how large they are, and where they’re placed within the frame.
You might find yourself zooming out or switching to a wider focal length so you can fit more of the surroundings into your frame.
You’ll probably find yourself using a wider angle lens so that you can incorporate the flower’s surroundings into the frame. With this in mind, give some thought to the perspective you choose so that you don’t come away with a snapshot.
Perspective
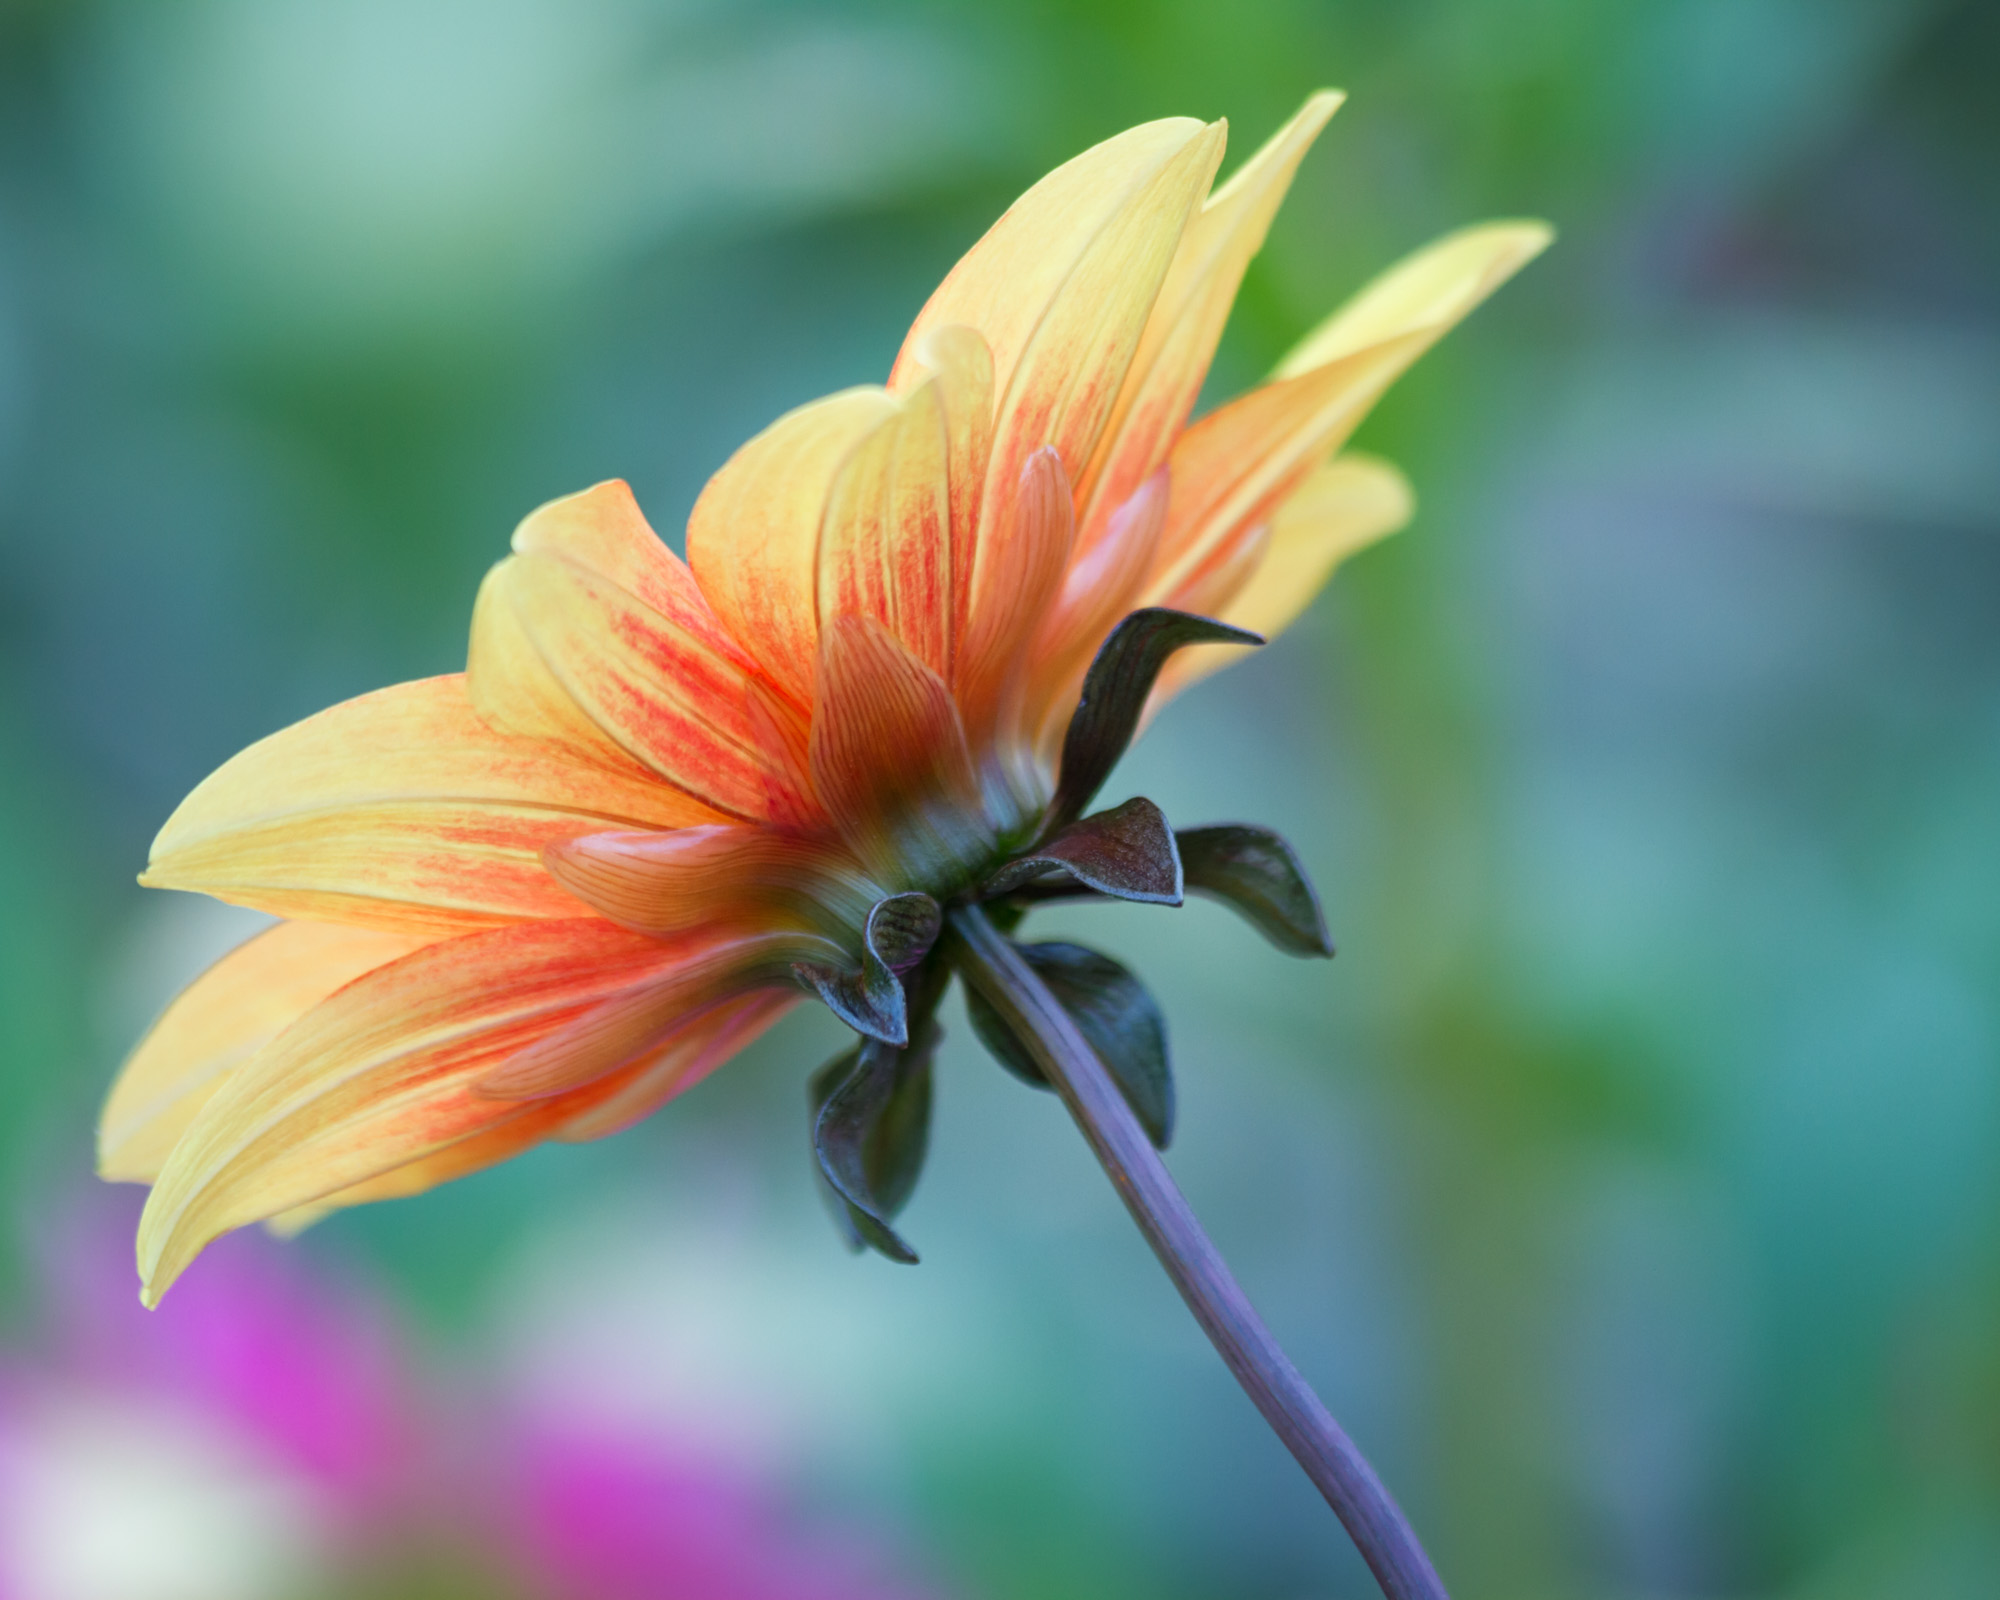
Most flower photos are taken from the front and slightly above, just like we might see it as we walk by. And while this is a perfectly fine point of view to shoot from, it can easily lead to snapshots. What makes a photograph stand out amongst others is a willingness to look at things a little bit differently.
Whether you move the camera up higher, down lower, or to either side, changing your point of view of any subject or scene will give you a more unique perspective that will add instant interest to an image.
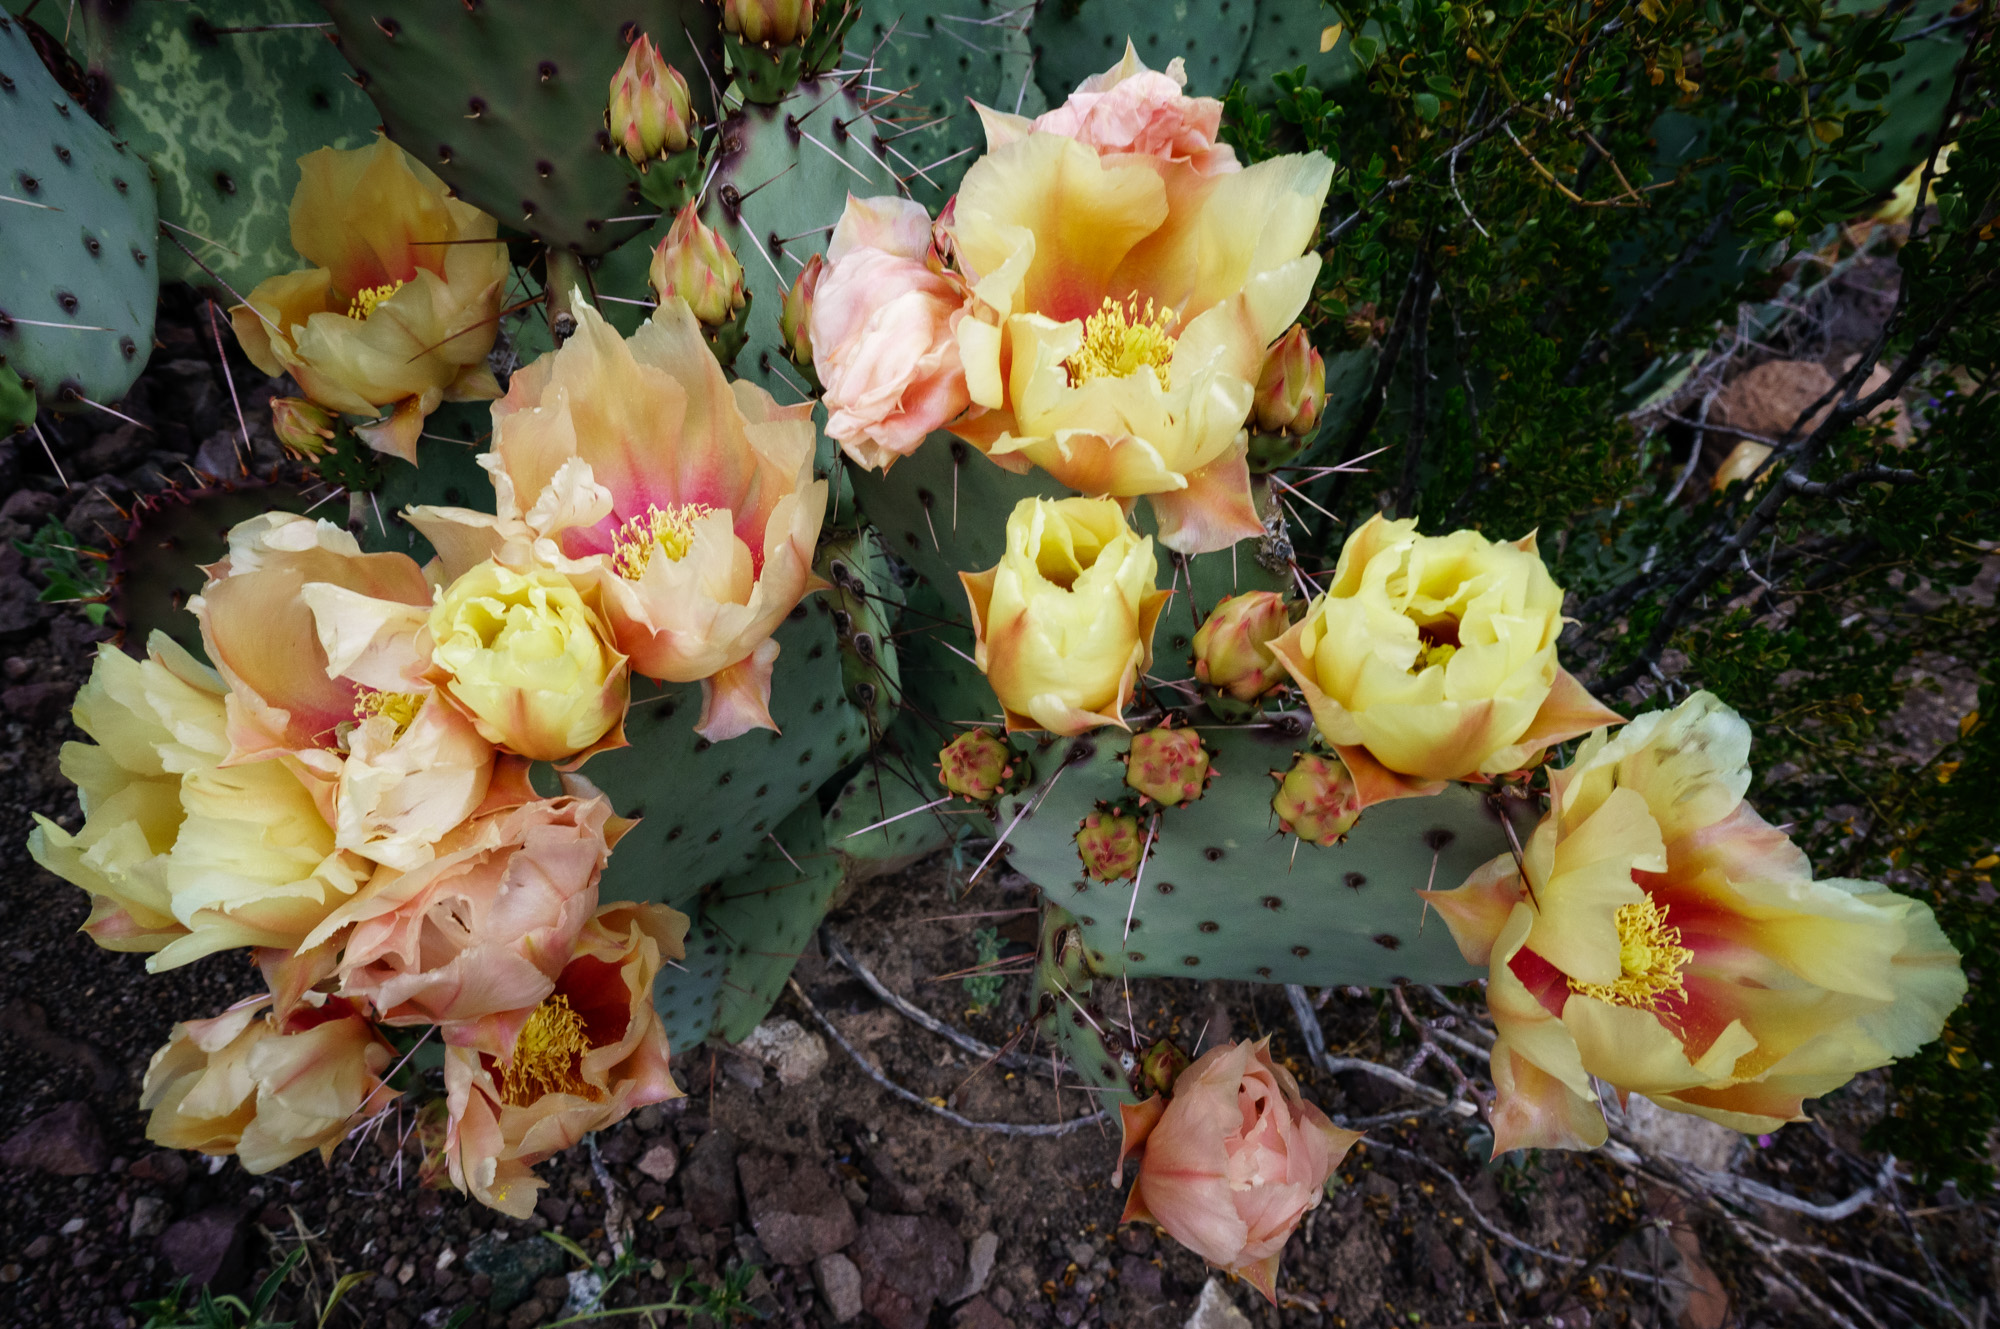
The way we look at something changes the way our brain processes it, and therefore the impression it leaves. Looking up from a low angle makes a subject appear large and grandiose, while looking down at it from up high seems to shrink it. Getting closer or further away from the subject can change its apparent size compared to what is around it, and moving your camera relative to the sun can show a completely different side of something – literally, in a whole different light.
Perspective becomes an especially important factor when you start adding other elements in the frame, in addition to your main subject.
Raindrops
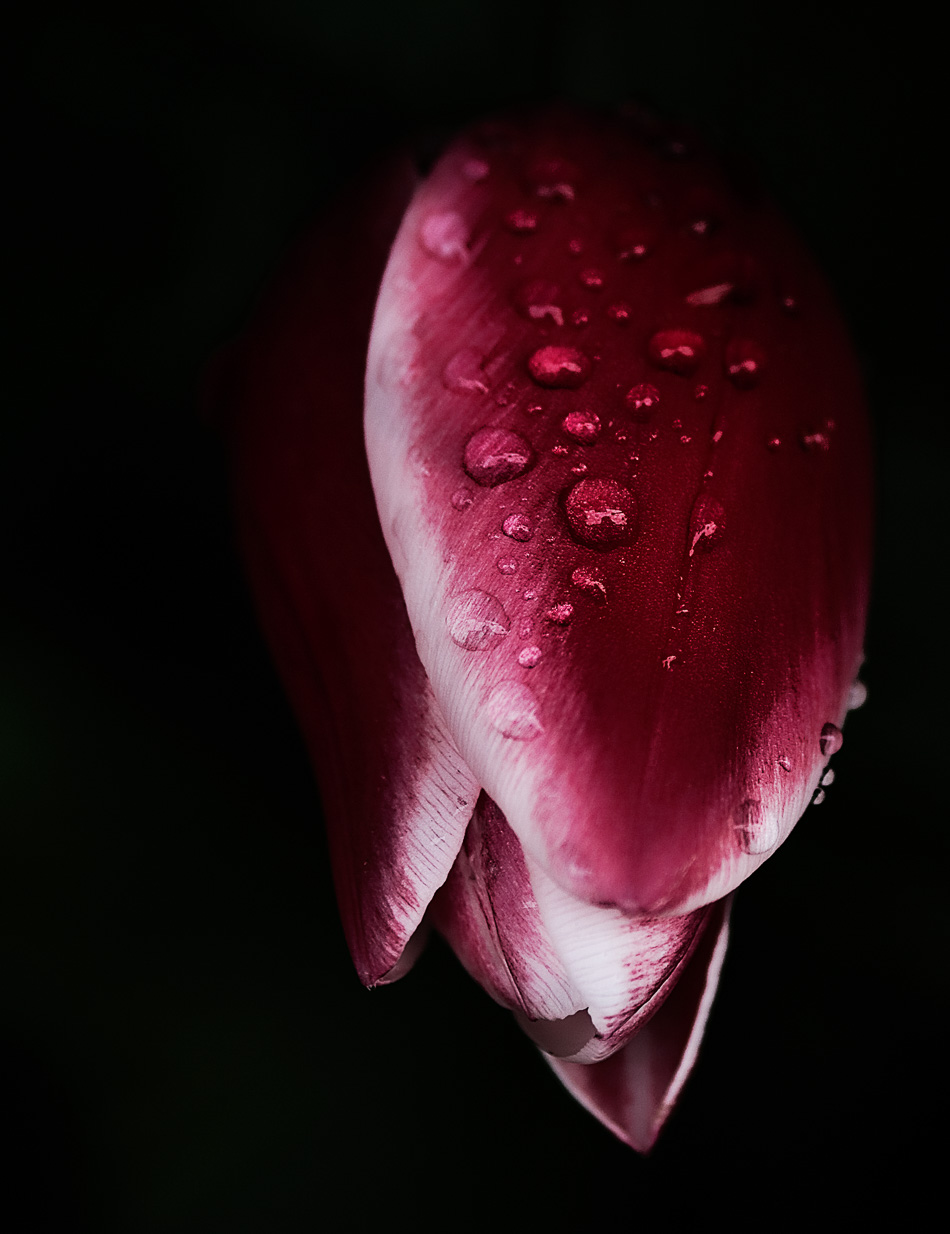
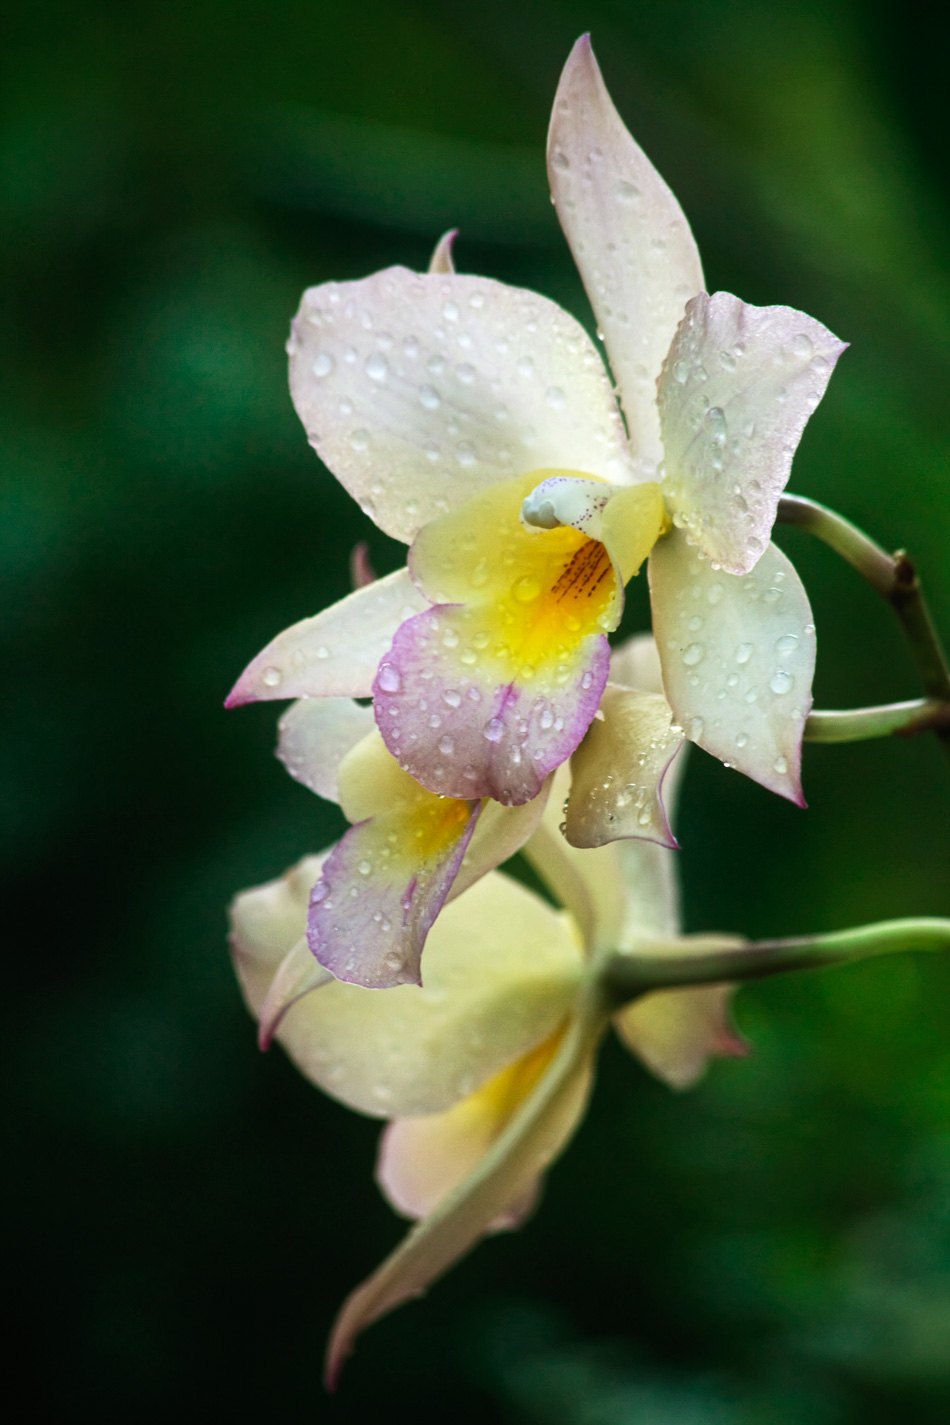
Raindrops on flowers. Need I say more?
Exploring Your Creativity
There are many different ways to photograph flowers, so I want to challenge you to come up with a creative concept and then put it into action. Do something you have never done before. Find your inner artist 🙂
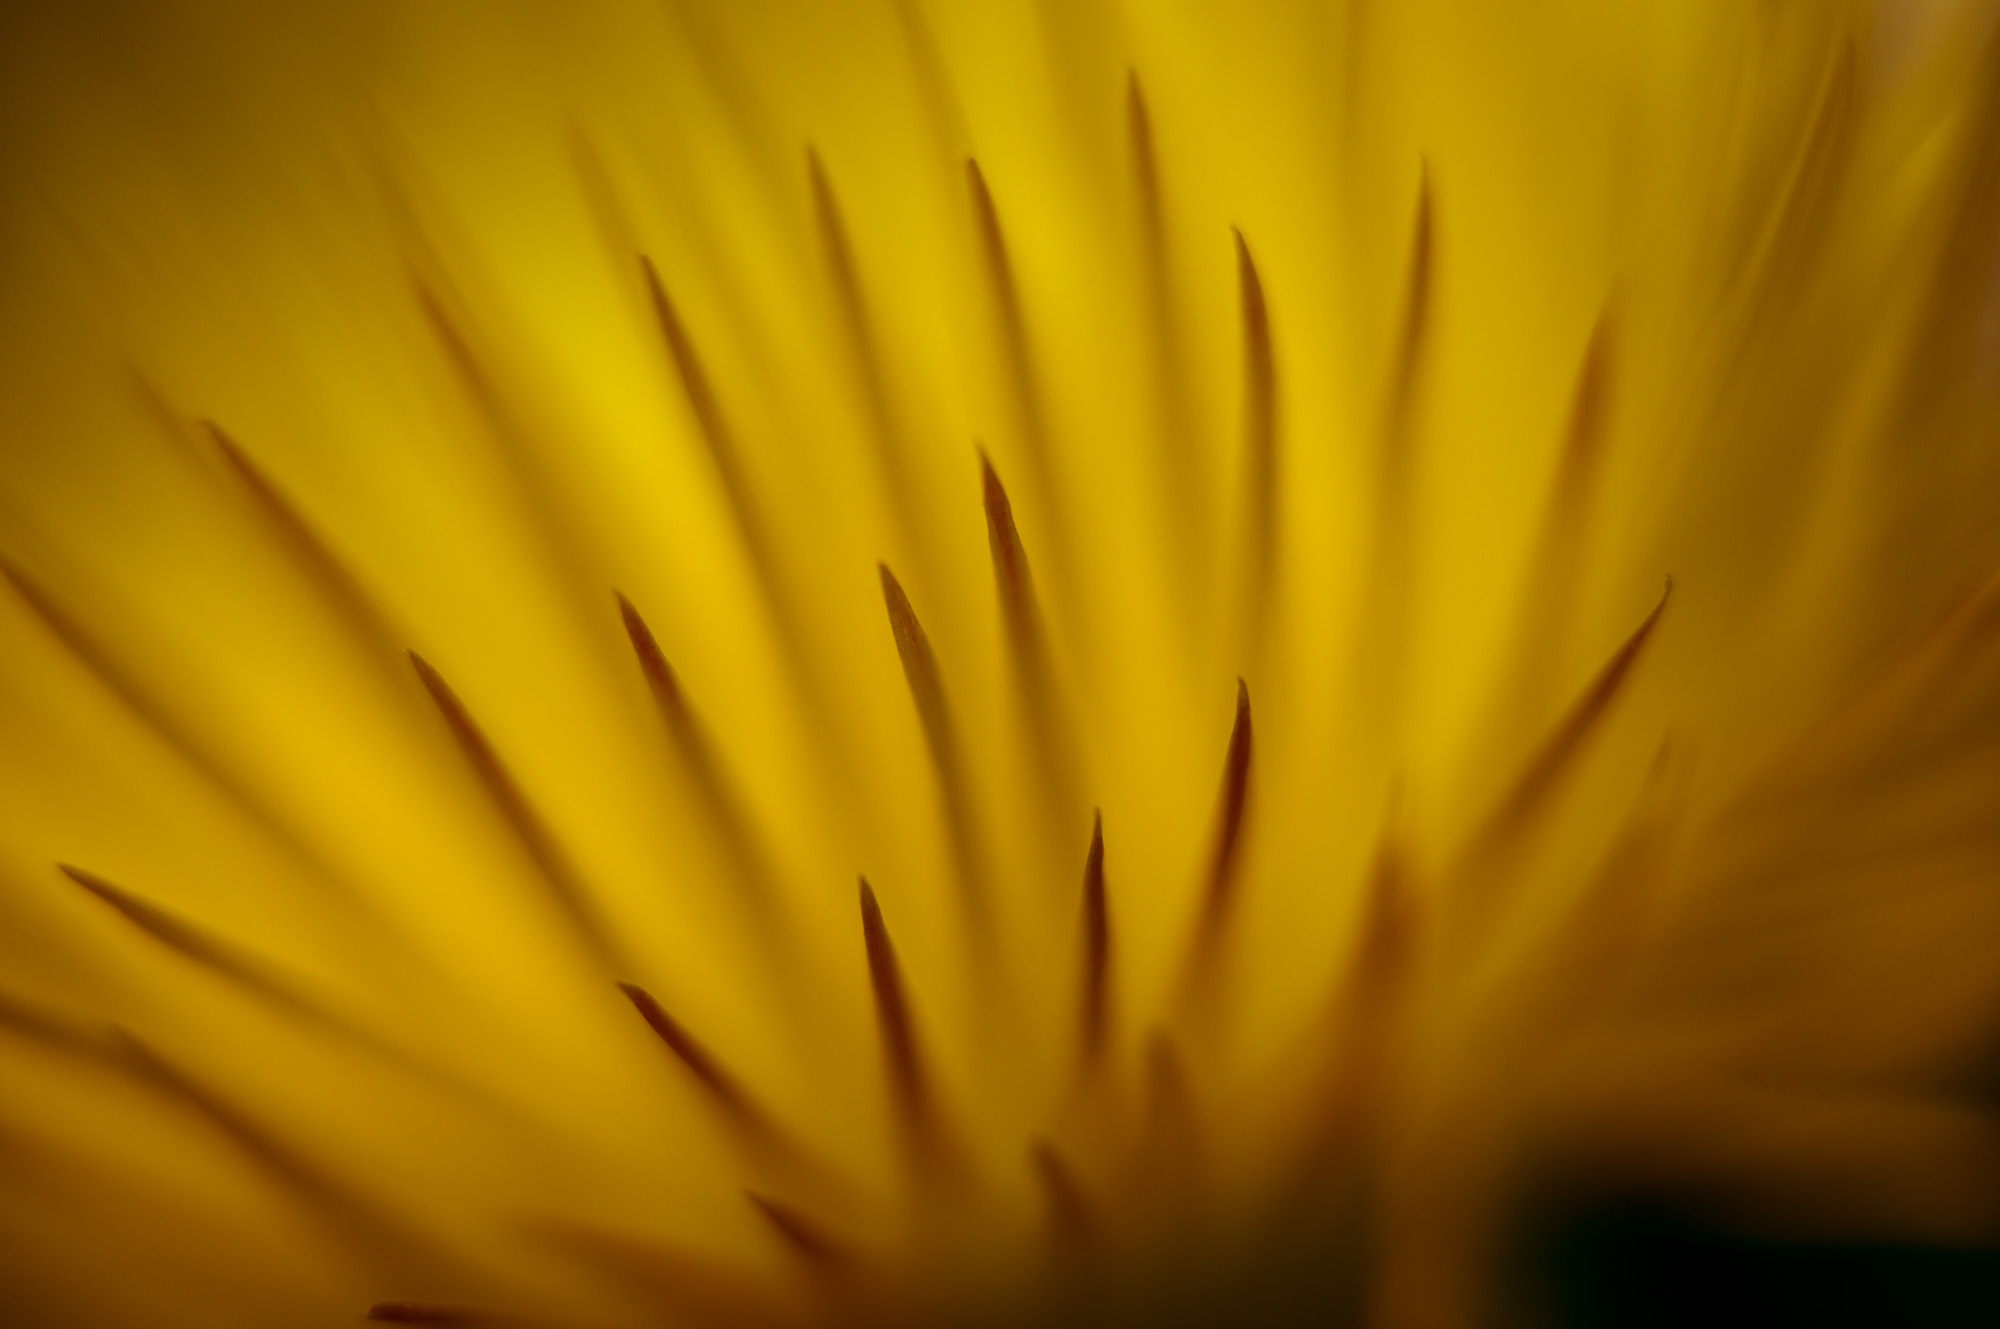
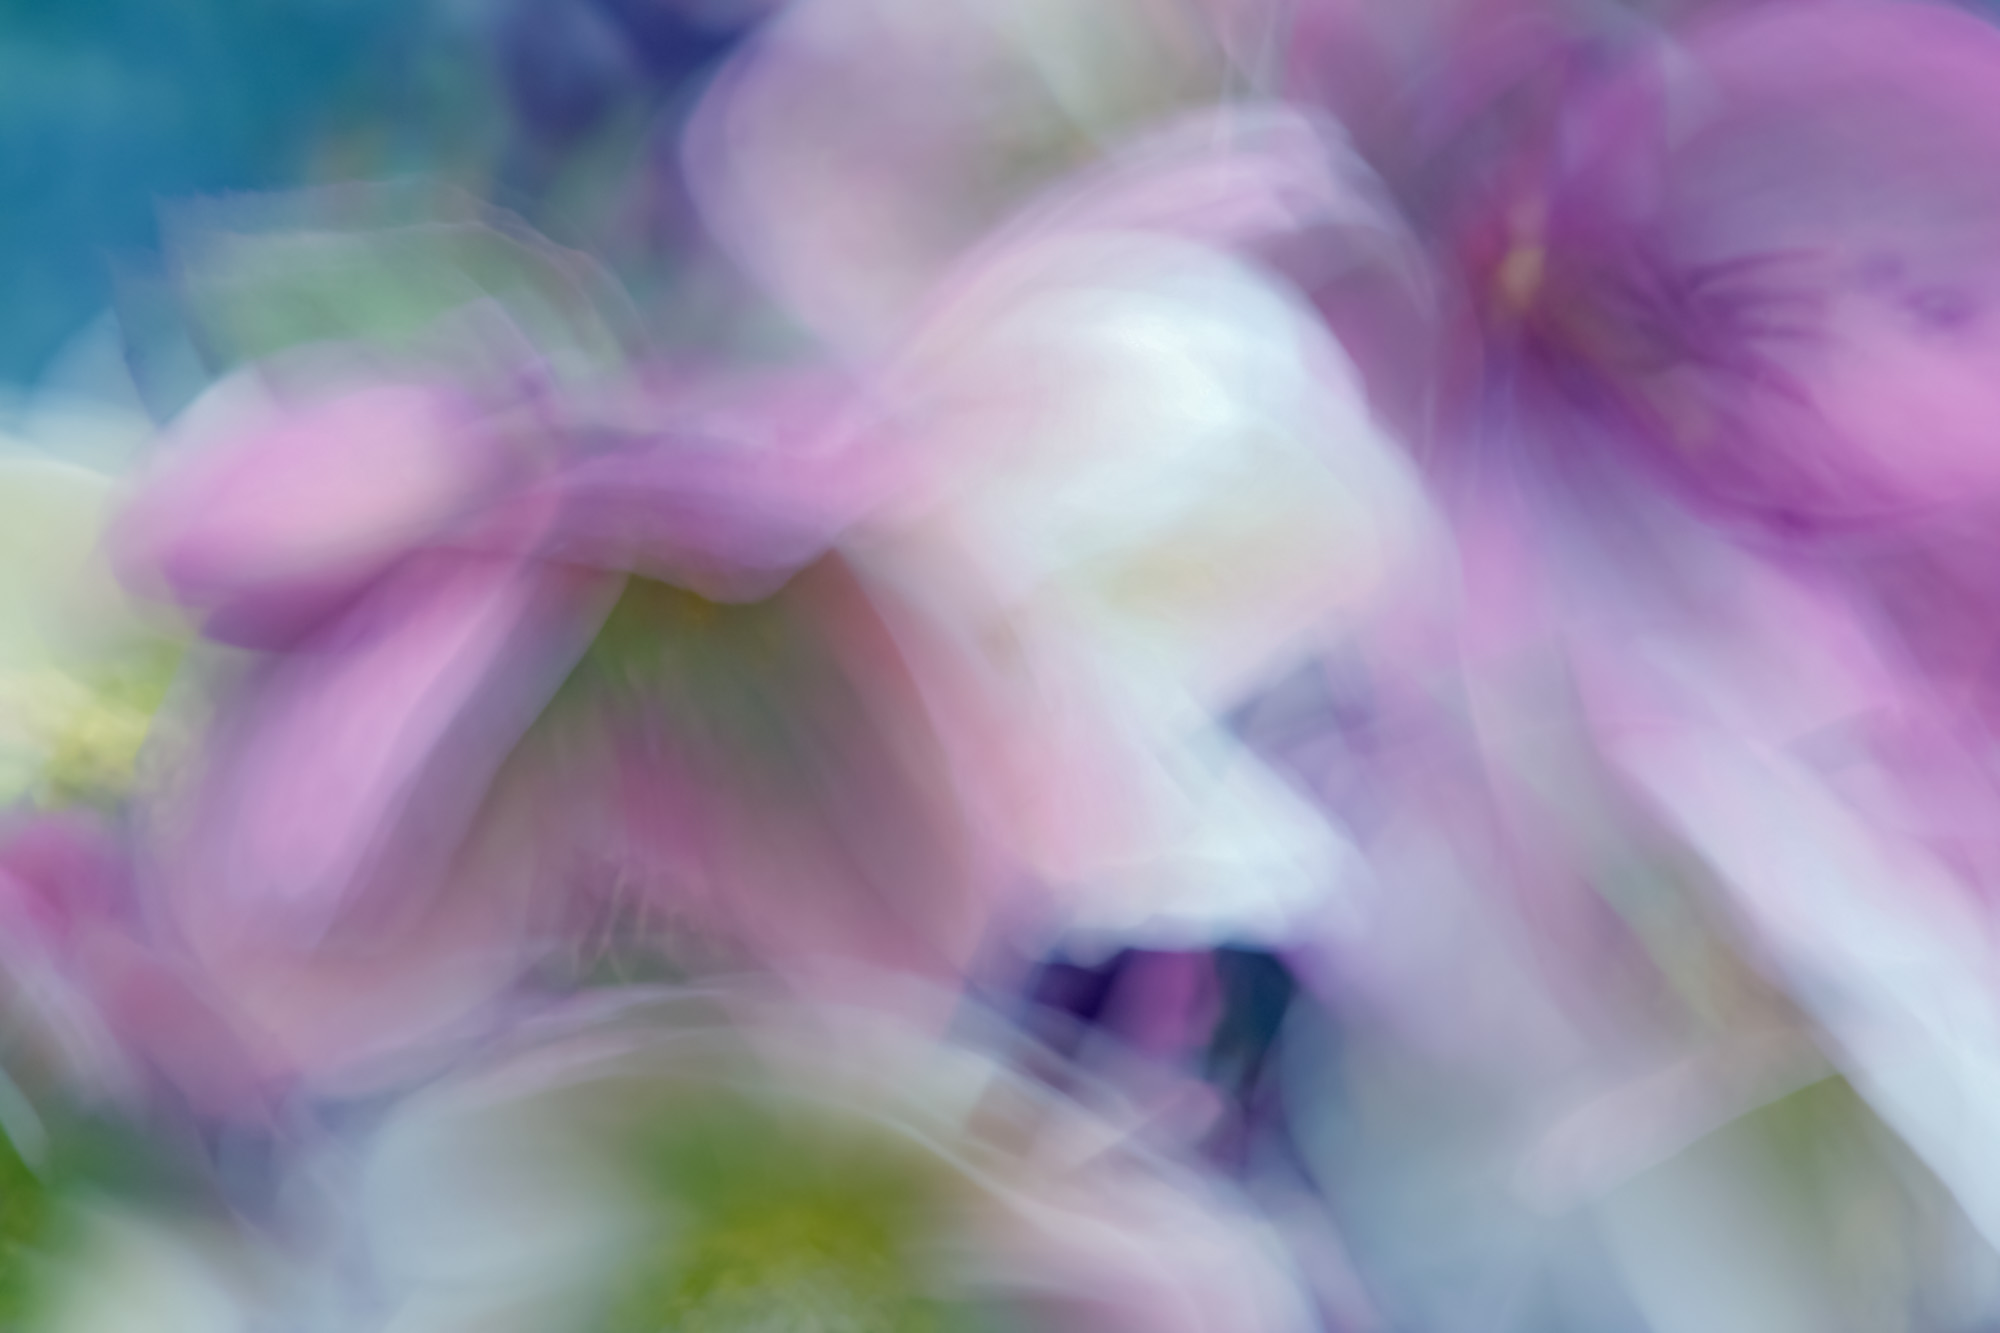
The photo above was made using a long exposure. Wind makes photographing flowers very difficult, so just go with the flow and let it blur!
Here are some ideas to get you started:
- change your perspective
- focus through another flower by putting one flower very close to the end of your lens and focussing on a flower that is farther away
- don’t include the entire flower
- photograph a different object with a flower reflected in it
- try some creative processing techniques
- use a long exposure and let the flower blur
- forget about the flower, and think only about shapes and colours
- photograph the flower through some fabric or glass or something else
- zoom the lens while the shutter is open


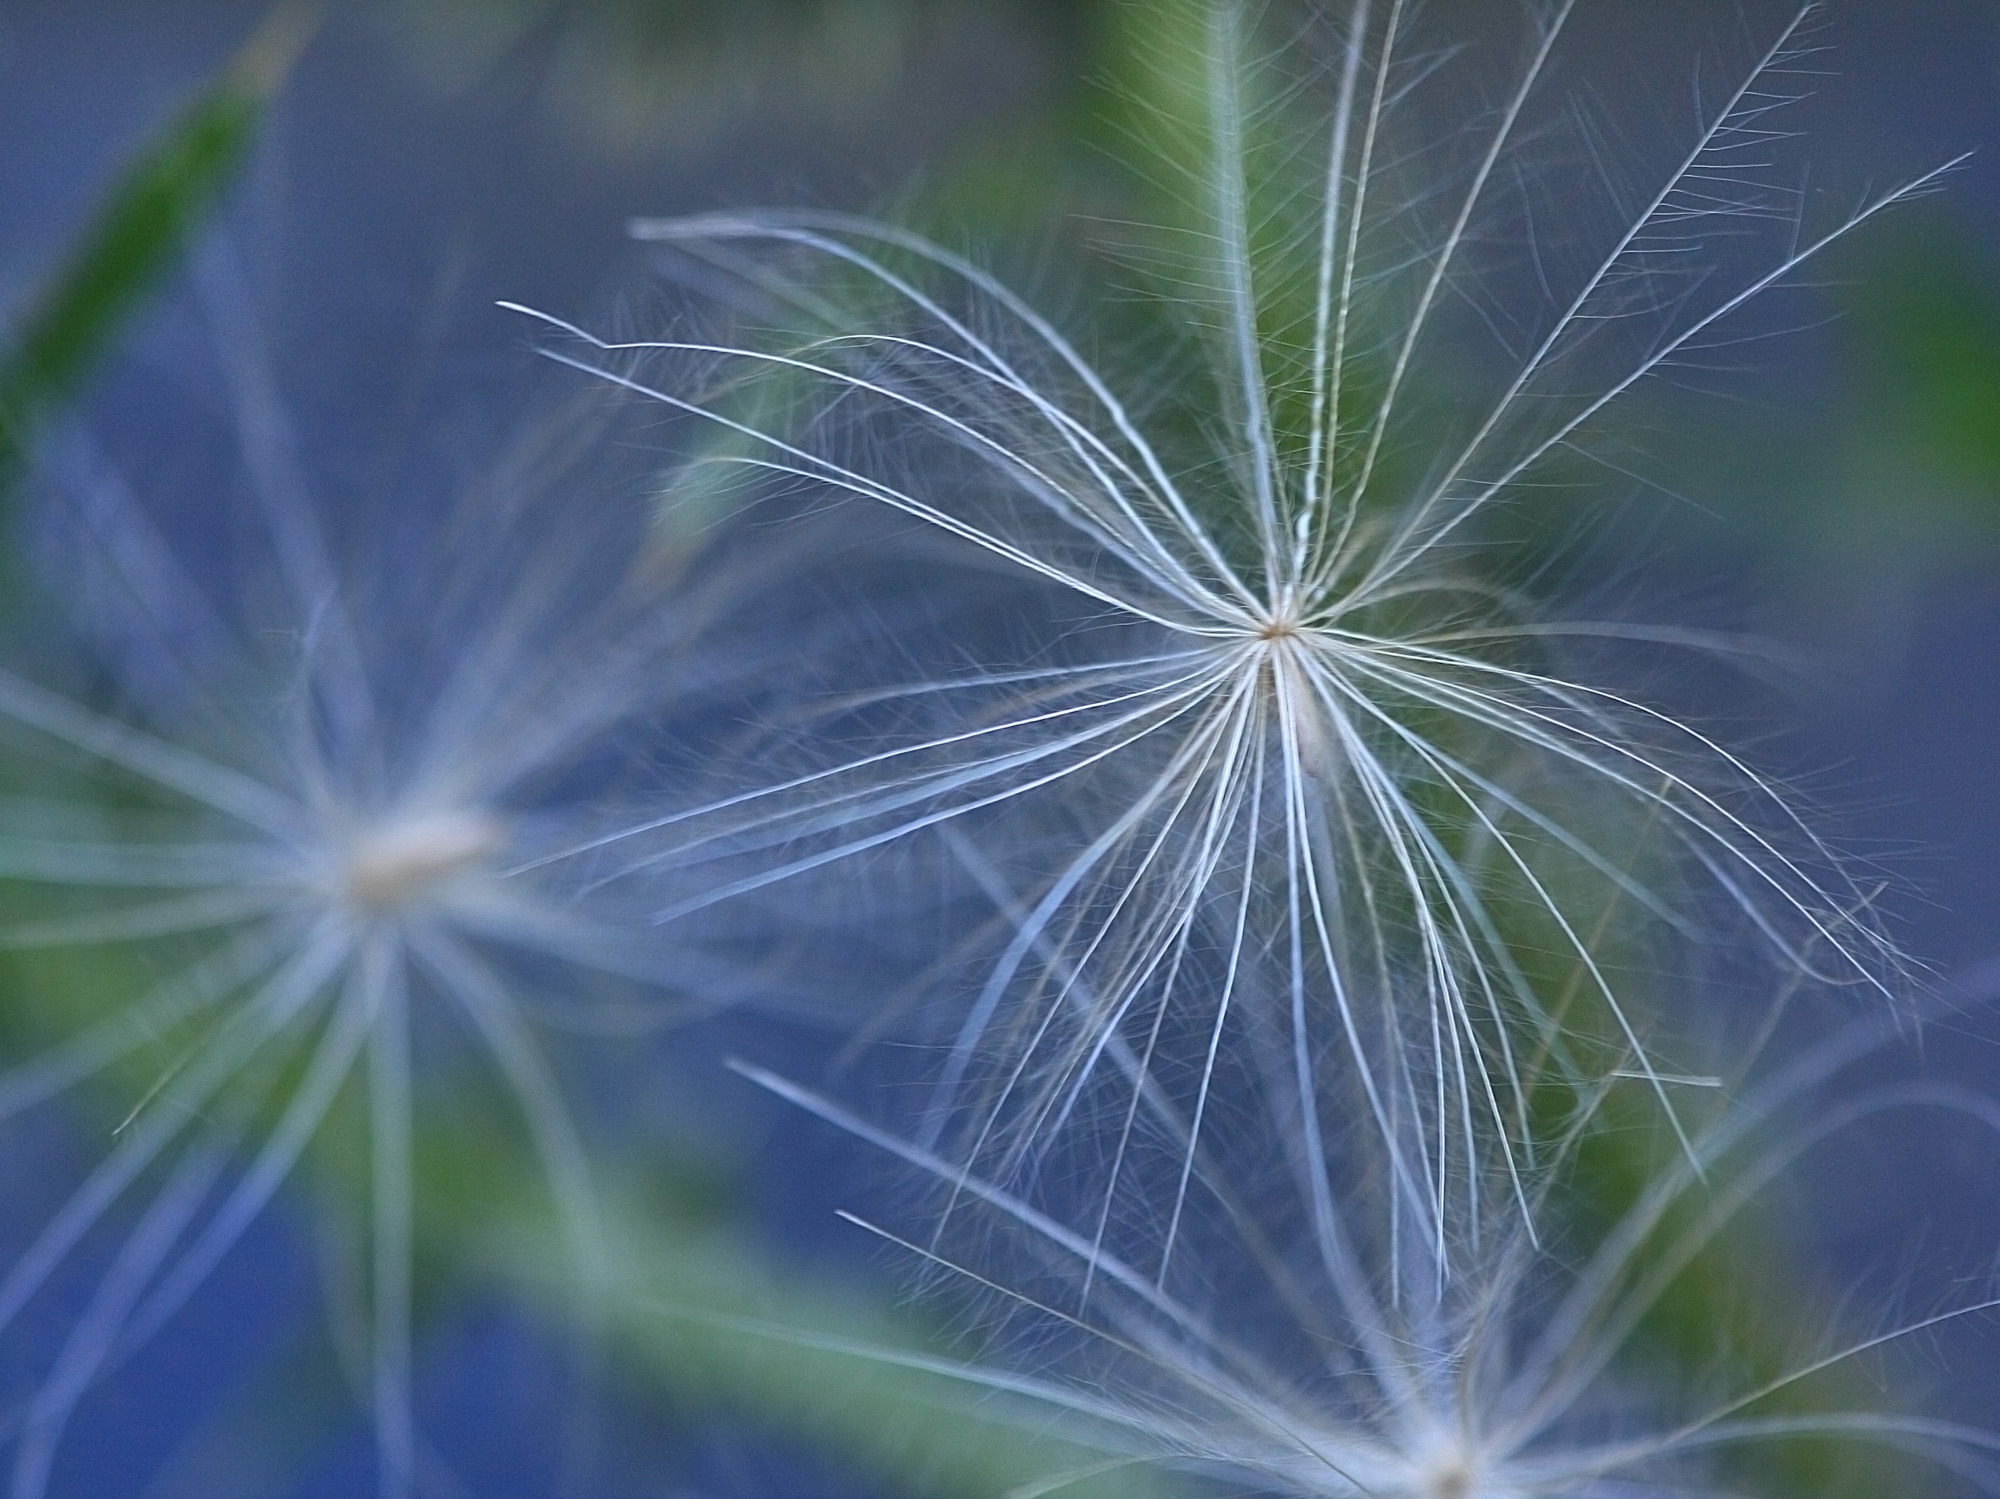
The photos above were made using the shoot-through technique. There were flowers very close to my lens. I focussed past them to flowers behind, and those close flowers created soft blurs of colour. I love this technique!
In photography, remaining open to all possibilities often requires us to slow down and spend more time observing than we do shooting. When we get caught up in “taking the shot” and then quickly move on, we can walk right by other ideas that might lead to a more interesting image.
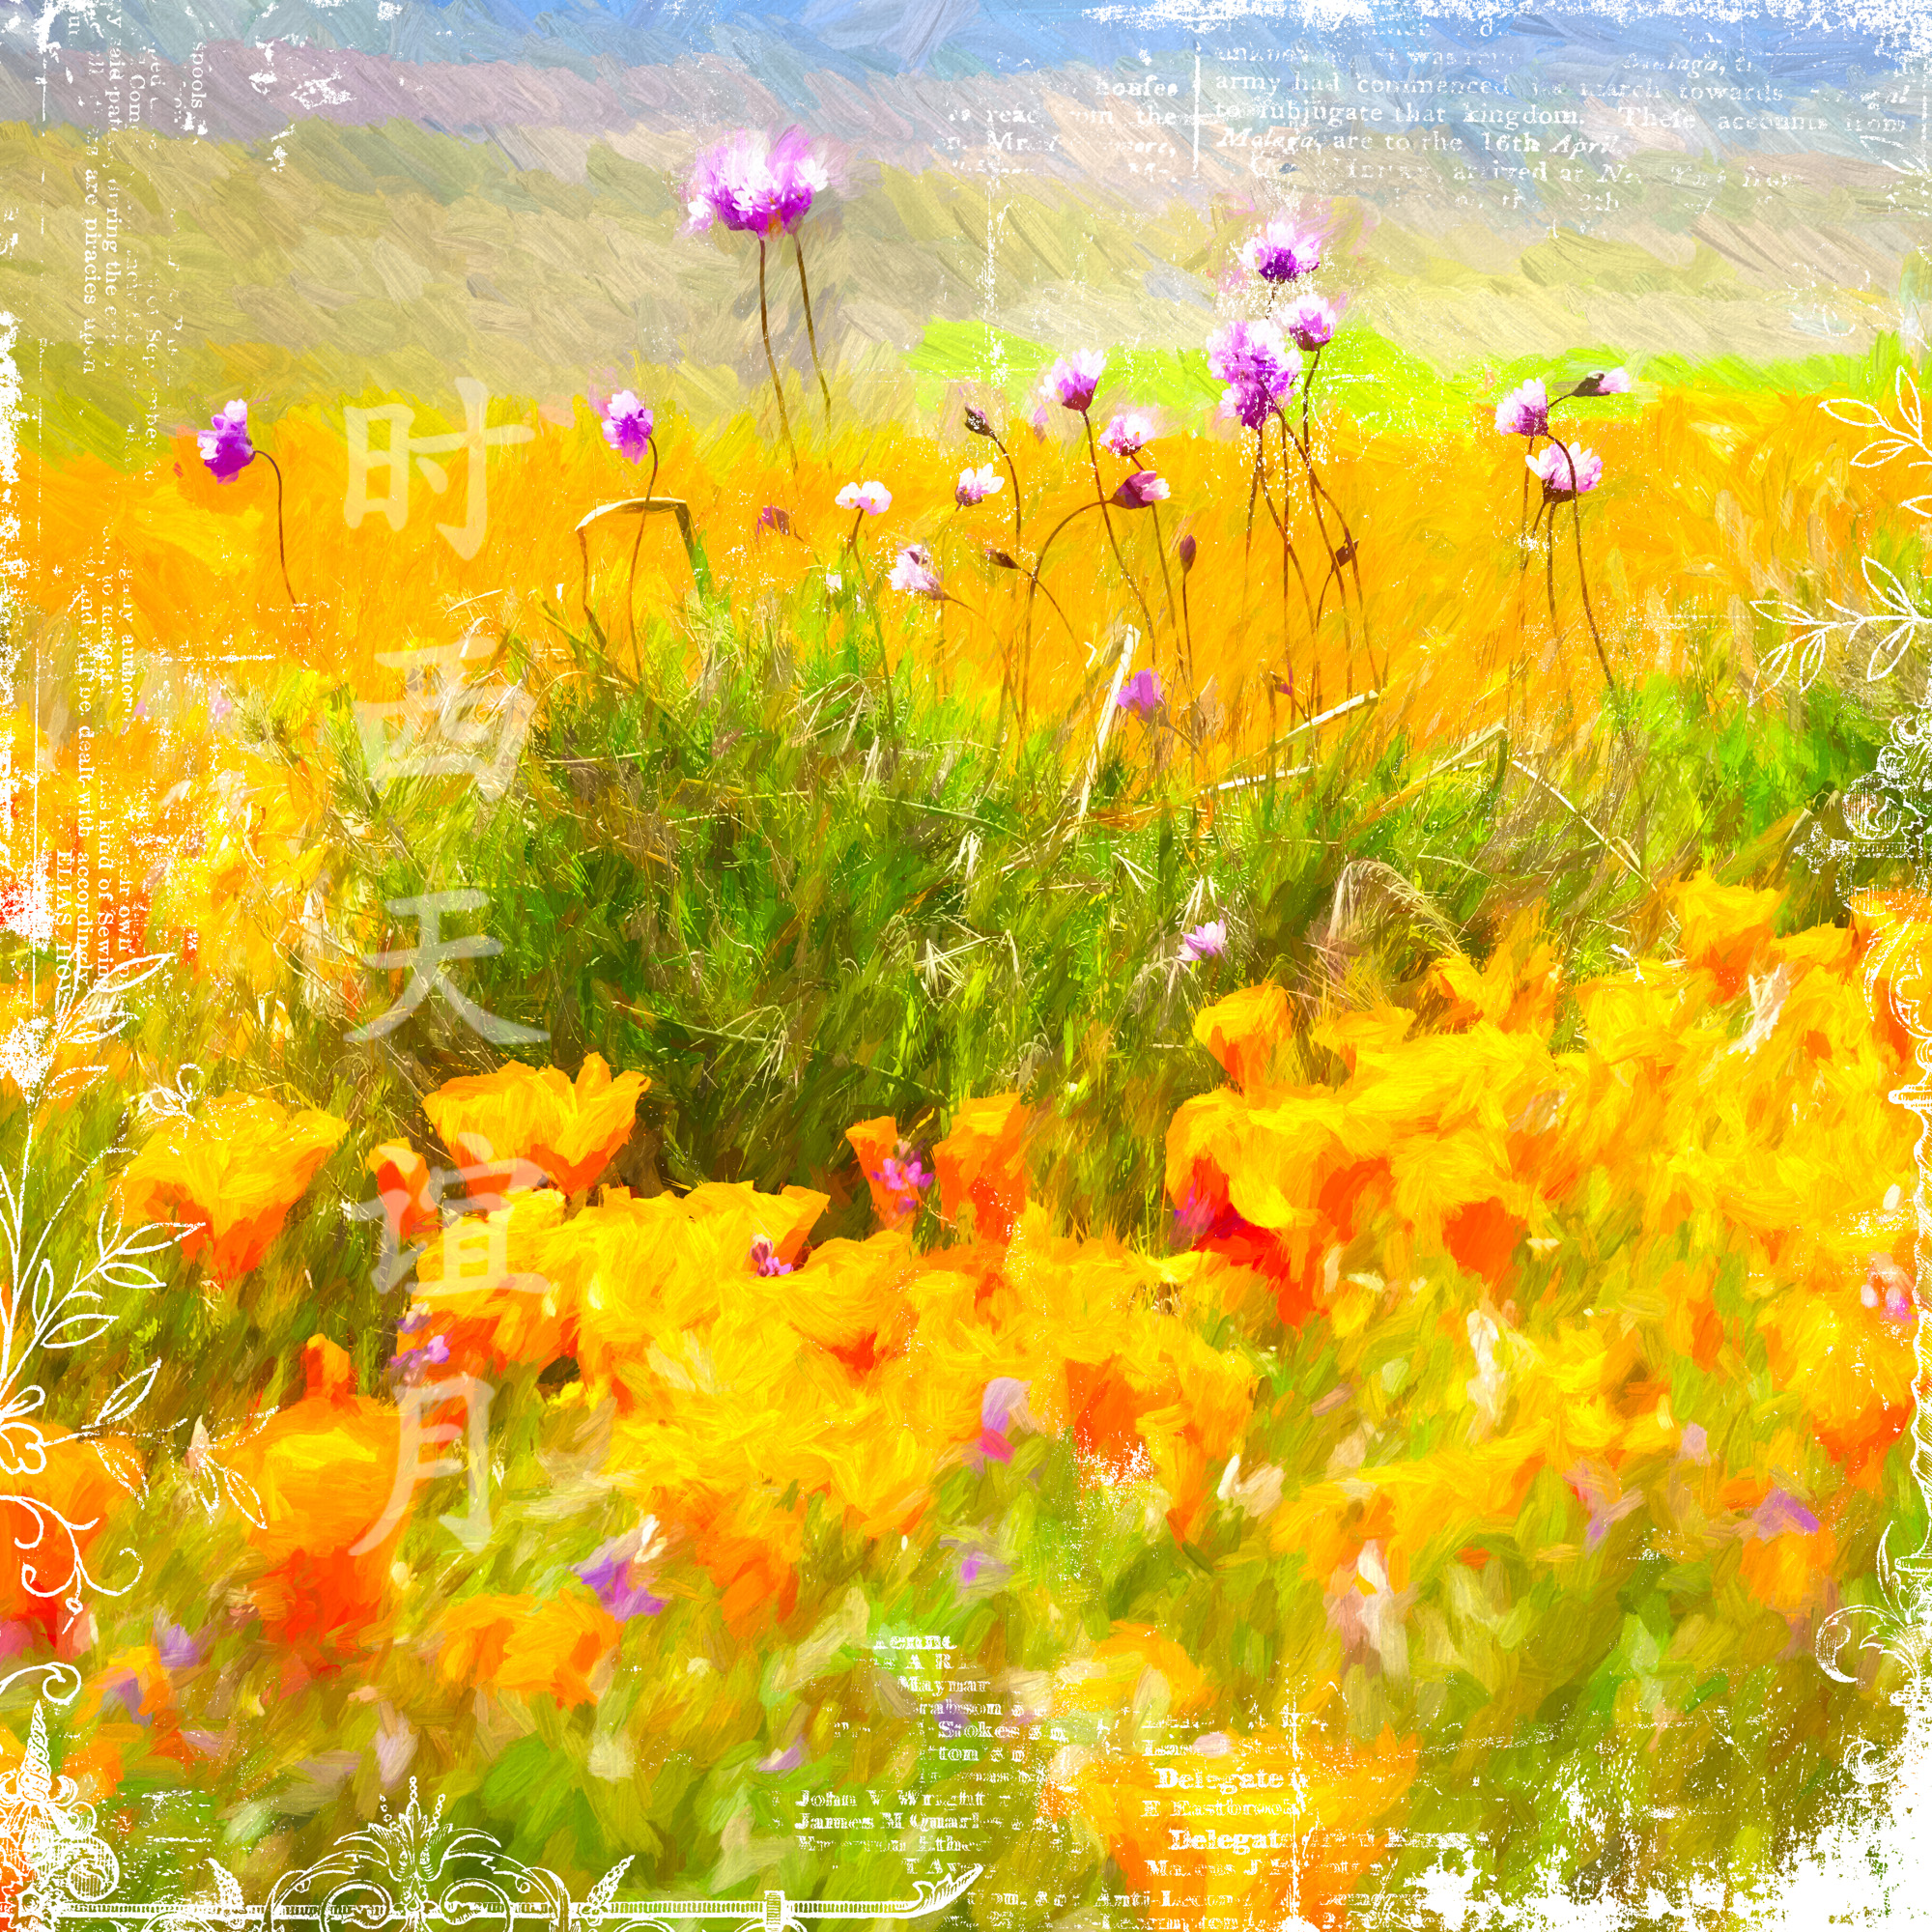
Try some new editing techniques. I made the photo above by adding a painterly filter and adding textures and overlays.
The word “creativity” frightens many people. “I’m not an artist,” they’ll protest, or “I’m just not a creative person.” If this sounds like you, put those doubts away. You don’t have to be an artistic genius or come up with something that’s never been done before to express your creativity. Creativity, at its heart, is simply about remaining open to all possibilities in your approach to a subject, idea, or problem.
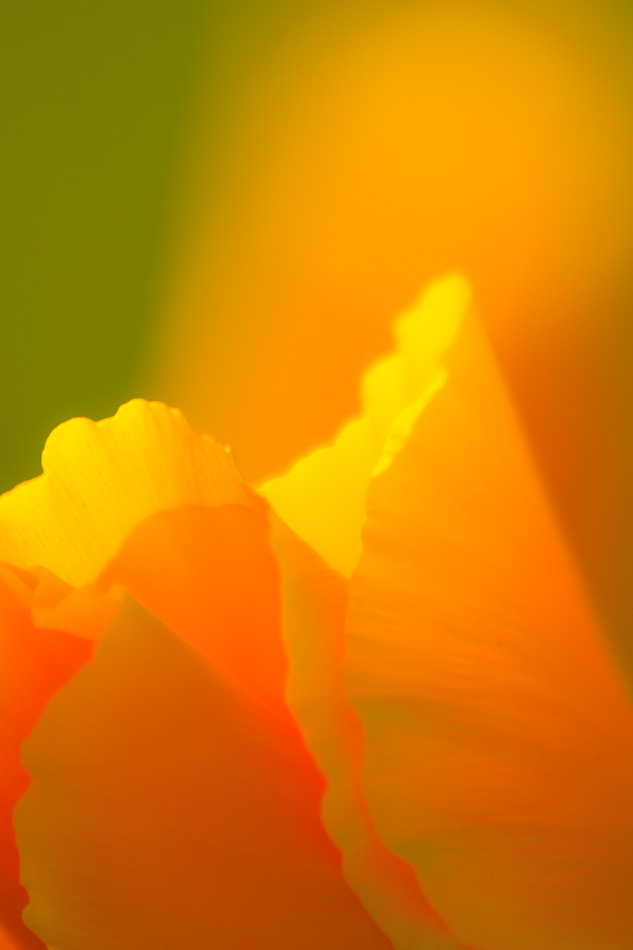
Try taking a slower, more thoughtful approach to flowers. Before you raise your camera to take a shot, stop, and simply spend time observing the flower or flowers, using as many senses as possible. What possibilities arise?
Final Tip: Eliminate Distractions
If you look at a lot of successful photographs, you might start to notice that the most effective compositions are the least complicated. Try to focus the entire image towards telling your story, and eliminate anything that is distracting from it. Anything that can be seen in your photo that doesn’t add to the story only takes away from it.
If your composition contains clutter and errant objects, there are a number of ways to get rid of them. If you can physically remove them, great! Otherwise, you may have to change your perspective to hide or minimize the offending elements. Things near the edges of the frame can be cropped off by moving closer, zooming, or otherwise re-framing the shot.
Backgrounds especially should be clean so they do not distract from the detail of the main subject. This is why wide apertures are often used to get a shallow depth of field that blurs the background and minimizes distractions.
I hope you’ll get out there and take some of the ideas in this post to make four very different flower photos: use diffused light; use dramatic light; create an environmental portrait; and something creatively different.
For more tutorials in this series, check out “Great Subjects”.

I’d love to hear what this brought up for you — what techniques have you explored to expand your creativity with flower photography?
Even a simple “thanks” or “me too” is always appreciated!
WILD SPRING LIGHTROOM PRESETS
15 presets made just for flowers, greens, and spring light.
Create bold colour, soft glow, or clean edits with one click.
Hi Anne,
Thank you for your excellent blog and for being so generous in sharing your experience.
As an amateur who enjoys macro and close-up photography, I mainly photograph insects and flowers. I enjoy exploring the small world around us. Why flowers? For many reasons. Firstly, they are beautiful, but there is so much more to them. I am captivated by their complexity, how they are “engineered,” and the purposeful nature of every single element. I am fascinated by their stages of growth, their colour transitions, and the way they invite a response—whether through admiration or as part of a wider ecosystem.
I agree with you that the challenge is to translate all the beauty and intricacies of a flower into a photograph.
Am I an artist? Not yet. Do I take snapshots? Probably not anymore. I feel I am somewhere in between.
Your blog gives me new ideas, inspiration, and challenges, so I feel that I am entering a new stage in my journey towards becoming better at ‘transferring’ what I see around me into my photographs. There is so much more to explore and capture.
Thank you very much.
Thank you for your wonderful message, Chris! I’m so glad I could share some new ideas with you and be a small part of your photography journey. I love how photography keeps us engaged with the natural world and always on the look out for beautiful things to share with each other.
Excellent ideas! You had approaches that I have tried and eager to. Thank you!
Thank you Mary, flower photography can be so much fun once you start really playing around and trying new things. Enjoy!
Thanks for the perspective as I haven’t done much flower photography since my iPhone macro phase.
You are welcome Sam, hope you found some new techniques to try!
Great info and Magnificent Photographs, it’s time to go out and photograph Nature!! Thank you for the great tips
Thank you very much Jon, your comments are much appreciated!
Great info Anne!!! I appreciate the tutorial and gave inspiration as I am highly interested in Macro photography. Keep up the good work. Thank you sooooo much!!!
You are most welcome John! So glad you found it inspirational. I love to experiment and discover new techniques. A macro lens really opens up a whole new world when you can get in there and reveal the tiny details. Thanks for your comments!
Great examples , as a reminder of the many techniques ! Thanks
You are very welcome Phil, glad you enjoyed the post!
EXCELLENT article. You hit on one of my favorite endeavors. I hate to admit it, but I bet I have somewhere between 8k-10k photos of flowers & flora . Thats just digital . Film would add another bit.
Hi Herb, I am often surprised by how much time I can spend photographing flowers, just trying to find some kind of unique technique or perspective. It’s much easier with the LCD’s that swivel around so I don’t have to swivel my body around quite so much, but I still find it difficult physically. I’m always trying to keep my eye out for flowers that are on some kind of raised bed or in a hanging basket. That’s the most difficult part for me. They are all on the ground!
Thanks for the encouragement and the reminder that regardless of the subjects, we have to be thoughtful and patient to make a photograph rather than just take one. I will start using these tips in my Ikeban flower arrangement practice as well.
Ikeban flower arranging! That is something I would love to try, they are so beautiful. That must be a very calming and meditative thing to do – or at least I imagine it that way. I’m so glad you enjoyed my tips, thank you very much for the comments Jay.
thank you for all the suggestions, anne! i think i’ve tried all except using a diffuser. i love taking shots in bright light with shade behind. doing that for several years in my garden has taught me so much about seeing the light and how it moves. i use a 55-300 lens and expose, or even under expose the brightest spot on the flower so get the darkest background possible.
i’ve tried several different blur methods and those are really fun. my friend and i are going to the local iris garden tomorrow and i’m going to take something to use as a diffuser( or maybe several somethings) and try that.
So glad you enjoyed the post Wendy. I hope you had fun experimenting with diffusers. I’m thinking of writing another flower post full of different experiments to try. I love to see people experimenting with new techniques both in the field and in post. Thanks for your comments!
Great Articles, Thank you very much Anne!!!!
Thanks Anne, your articles are always such a good read and full of good advice.
Thank you so much John, I really appreciate the wonderful feedback!
Great tips, Anne! I’ve been following you from the beginning and always look forward to what you share. The local flower gardens here in Illinois should have something for me to photograph in about a month. Instead of walking through and making colorful snapshots., I need to slow down even more and work on some of the ideas you presented here. Oh, if only I could live 20 minutes from Butchart Gardens.
Hi Marv! A long time ago I used to think flower photography was a bit lame because of course you can make a pretty photo of such a pretty subject. But you’re right, in order to make something truly special, you have to slow and try to see things in a new way. I love doing the shoot-through technique or trying to find a different perspective. My biggest problem with flowers? They are all on the ground! Although you make a good point about Butchart Gardens, they often have a bunch of hanging baskets which does make it easier on the body. I hope you are well. Thanks for your comments.
Wow, such bright colours of flowers are. You are really talented. Loved the way you represent the flowers in your photography. Lots of love
Rachel
Thank you very much Rachel!
I like taking pictures of flowers, but found they are easier if you soak them in ice cold syrup water. Thanks for writing!
Hi Erin, well I’ve never heard of doing that! Do you do that for water droplets? I sometimes will use a spray bottle to spray a bit of water on a flower. Thanks for your visit and comments!
Loved the article and have a quick question. What percentage should I shoot when using the long exposure to get the blur effect? That post was awesome by the way!! Thanks
Hi John, I’m not sure what you mean by what percentage to shoot. But the length of the exposure does depends on how much blur you want and how much your subject is moving. The amount of wind makes a big difference. I usually just pick a number, like half a second or one second, take a shot, and then adjust from there whether I want more or less blur. Not very scientific, but it works for me 🙂
Stunning photos! Love your processing and editing skills. Can you recommend a good macro Canon lens for flowers.
Hi Darren, If I were going to buy a macro lens, I would probably get one of the 180mm ones so you can get some good details. However, I actually use a close-up filter for my macro work. They are much smaller and less expensive. Mine is a Canon 500D close-up lens (which looks like a fat filter and you put it on a telephoto lens).
Luv the processing on your yellow mums. Looks like a painting.
Thanks Sivia, that is one of my favourites too 🙂
Can’t wait to try all these brilliant tutorial Anne! 🙂 Personally like flower photography. By the way, I will try your tips today. I hope I will get a great experience by using your tips. Thanks and have a good day! 🙂
Thanks Mary, I’m glad you found the tutorial helpful. Hope those flower photos turned out to be wonderful 🙂
Hi Anne,
Thank you so much for sharing your expertise on so many photographic subjects. Wildflowers were my first love when I started shooting five years ago. Although I have since expanded into landscape and night photography, I think that mastering flowers was the hardest of all, and I’ll never stop working with them. It is great to read your tips and techniques. Such a good refresher, that will be referred to again and again.
Thank you very much Sallie! Mastering flowers is difficult because you have to be a little more creative or you’ll end up with snapshots. That’s why I think working with flowers actually helps in other areas of photography as well. A little push into creativity never hurts 🙂
I’ve always been that person that said, “I’m not an artist, I’m not creative at all” but I absolutely loved your perspective. I feel compelled to borrow my sister’s Nikon and find a few beautiful flowers to start testing your tips out on! I’ve always loved photography but never attempted any pictures on my own. This may be the start of something new! How did you discover your love for flower photography?
Hi Steve, thanks for your comments! I spent one summer in an RV park that is near a famous and very beautiful garden. All the tourists go there, but I hadn’t been there since I was a kid even though I lived not too far away for 20 years. I gave myself the challenge of trying something I thought might be boring and seeing if I could make something interesting out of it. I did! Now I love flower photography 🙂
I’m trying to get more into photography and I find that flowers are definitely something easy to practice on. I’ll have to try these lighting techniques for myself.
That’s what l enjoy about photography, especially of flowers, it slows me down and l find l have much more appreciation for the landscape around me. But this article makes me think even more, so thank you for that
Dear Anne
Thank you so much and Very useful article to me
Yoga
Love flower photography, but still working on problems with the red flowers. Change exposure a little.
Hi Janell, I had that problem too! I found out that certain cameras are known to over saturate particular colours, and my Canon 7D seems to oversaturate reds. I don’t make any changes when I make the image, but in post processing I reduce the saturation of the reds using the HSL panel in Lightroom. I hope this helps. Thanks for your visit and comments.
Ann taking photos of flowers is my favorite of all I loved all you had to say and I sure will use what you have told us to try i,m always taking photos of flowers with my Macro filters on or whatever, some turn out beautiful, some little to dark I have yet to find the right settings on my camera to do photos at night that is my goal to figure out how to take night shots do you have any suggestions on what I need to set my camera on? I have a Canon Rebel XSI EOS 450 I sure would appreciate it, YOUR EXCELLENT!!!!!!!!!!
Hi Robin, You’re taking photos of flowers at night? That’s interesting!! What a great idea. I think that in order to expose properly for the flower, you should use spot metering and meter on the flower. That way the flower will have a proper exposure, and the rest of the photo may be dark. If it is too dark, try using your camera’s exposure compensation and just dial it up a bit. I actually have the same camera as you! I haven’t used it much over the past few years since I bought the 7D, but the 450 is an excellent camera, I loved it. I hope this helps.
Thank you I have enjoyed your tutorial and Neill certainly try and put some of your excellent suggestions to the test.
Great to hear Alison, thanks!
Thank you for a great tutorial. I love flower photography and found the tips so useful. Now off to be creative!
Yes, creativity is the key! Thank you so much for your kind comment Teresa, I appreciate it.
Great thank you I learnt a lot
Glad to hear it, thanks Sherron!
Thank you
I enjoyed your article and photographs, sharing it with google +.
I love to Photograph Flowers, I have 20 different roses in my yard. I get excited when my Roses, Clematis, Helleborus Columbine and many more bloom. out comes the cameras. The lighting in the yard is great at different times of the day allow my photographs to really pop.
Hi Stephen, having the flowers readily available right in your own yard is fantastic. That’s one thing that I don’t get anymore now that I travel full time. 20 different roses!! That must be gorgeous. Thanks for your visit and comments.
Good tips. Just a suggestion. When your pictures are includedicated in your text, it would be helpful to include your settings that you used. I always gain information from your posts. Thanks.
Thanks Jim, I’m glad you find the posts helpful. I often do including the settings with my posts, but not every time 🙂
Many thanks Anne for a very helpful and interesting Tutorial, I love taking flowers and this article has given me new ideas. Thanks again for an awesome Tutorial.
You are most welcome Les, thanks for your visit and comments.
Dear Anne,
Do you realise that in the process of writing about photography, you made a profound statement, and I quote. “The way we look at things changes the way the brain processes it, and therefore the impression it creates.”?
Were you talking about photography or how prejudices are created?
I believe that since photography is a part of life, most of the things that apply to one apllies, most of the times in toto and a few times with some Photoshopping (modifications!) to the other. Examples are focus, simplicity, point of view, wide or narrow angle etc. Your statement above is also an excellent example.
Needless to say, the post itself is great, with a number of learning points. Thanks for the same.
Sincerely yours,
— Ravindra Kathale
Hi Ravindra, You are so right, looking at things from a new perspective changes the way we think of it – for both photography and other things in life. I’m glad you enjoyed the post. Thanks for your visit and comments.
Thanks Anne for the excellent advise and sharing your beautiful photos with us.
You are welcome Larry, and thanks for your comments, I appreciate it.
Great tutorial Anne!!!!! I love flowers and I will go and give a try some of yours tips!!!
Thanks Barbara! Always glad when I can inspire people to get out there and try something new.
thank you Anne again another great tutorial ,, creative ideas,,, I will be trying a few ❗️
Great to hear Rose, thanks!
some very interesting comments and they do tally well with some of my mistakes so thanks for the update and the greats mages
Glad to hear that the tips resonated with you Pete, thanks for your comments.
I would leave a comment, but now I have to go out and photograph some flowers!!!
haha, the flowers are calling you Lee!
I really enjoyed this tutorial. Great points about making image say what you want. I realize this is time consuming to post a beautiful tutorial like this, but I appreciate it. You hit the nail on the head!
Thank you so much Cindy, I appreciate the time you took to let me know you’re enjoying the tutorials.
I have 10 years taking pictures of flowers as amateur, despite that, your suggestions resulted very useful.
Thank you.
Excellent, thank you for letting me know Sebastiao, I appreciate it.