
I am finally starting to get the hang of my 2 stop reverse graduated neutral density filter which I have rarely taken out of the bag.
Usually when the sky is brighter than the foreground I use my 2 or 3 stop graduated ND. The difference between them is that the regular grad ND is darker at the top and fades to lighter in the middle and clear at the bottom whereas the reverse grad ND is clear at the bottom, has a dark section in the middle, and fades to lighter on top. It is perfect when the sky is brighter at the horizon than it is in the top of the frame.
To show you the difference the filter makes, here are two unprocessed raw images. I used my 3 stop grad ND on the image on the left and the 2 stop reverse grad ND on the image on the right.

|

|
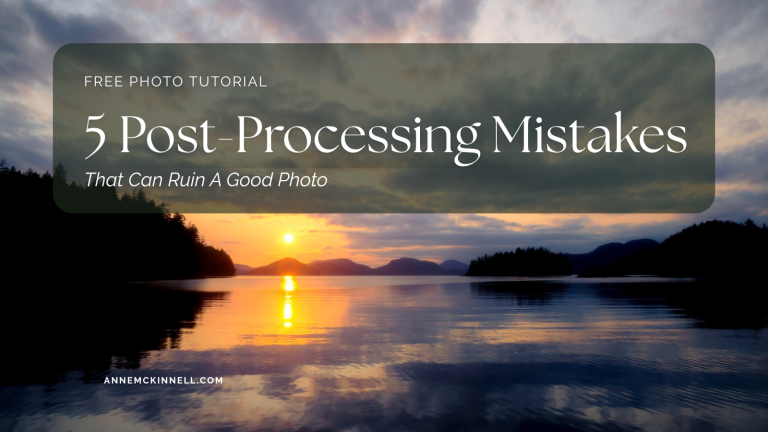
Here’s how the final image turned out:

Please click the image to view a larger version.
I made this image at Rebecca Spit on Quadra Island, the largest of the Discovery Islands Group located between the middle of Vancouver Island and mainland British Columbia.
In Nik Silver Efex Pro I converted the image to black and white choosing the “wet rocks” preset.
The reverse graduated neutral density filter is my new favourite filter! What is your favourite filter to use in the field?
That is a nice B&W photo. I read and reread and looked and looked again but to me it looks like the photo on the left would be the Reverse Graduated ND filter. Also your final looks darker at the top than the middle. I guess I am stumped as to how it would look like that if your used the Reverse Grad ND filter.
Hi Leonard, I wish I had included a version with no filter at all. Because it was sunrise and the sun was just below the horizon, the middle of the frame was quite bright and the top and the foreground were quite dark. So the top was going to end up darker than the middle no matter what filter I used, or if I used no filter at all. Darkening the middle area just evened out the exposure. Also, by darkening the brightest area, I was able to use a longer exposure which had the result of lightening the foreground. Notice the difference in the foreground in the two images. I hope this makes sense!
I have the SR 3 stop reverse GND. I just cant seem to get similar effects like you (or others are getting). I think I got the metering done wrong. How did you use the metering of the camera?
Matrix/Average, Center-weight or Spot? If not matrix, then where did you get your exposure metered for the shot (I guess the base metering)?
Thanks…
Hi Tunc, I usually use matrix/average metering as a base and if I don’t like the result I start using my exposure compensation to make adjustments. I find that the reverse GND only works when the light at the horizon is significantly brighter than the rest of the sky. Often when the sun is higher in the sky the sky is brightest at the top of the frame so the reverse GND wouldn’t work well then. I would imagine the 3 would be harder to use than the 2 because the dark band in the middle is even darker. This is why it was in my bag for a year before I really got the hang of it.
Good tips Anne about a very useful filter! I own a Singh-Ray GND and find it extremely helpful while shooting coastal scenes.
Thank you very much Kyle. I find the GND’s essential for coastal scenes since the sky is always so bright. Unless it’s twilight of course.
Like a lot of others who have commented here, this is a filter I’ve never used. And I don’t yet own a GND filter — just regular ND filters. But the results are great. And I keep hearing about Nik Silver Efex Pro. I’ve been trying hard to get good b&w results using Lightroom and Photoshop Elements, but have only been mildly satisfied.
More things to spend money on. Just what I need! But thanks for sharing anyway, Anne.
Hi Steve, I really like the graduated NDs. I too found that I was always dissatisfied with the results of my black and white conversions using lightroom and photoshop elements. I know other people can do it, but I never like the results from my own images. I absolutely love Nik Silver and another one I use quite a bit is Topaz Black and White Effects. They both have tons of presets you can use or at least start with before making further adjustments. I seem to have better results since I started using them.
I am not that familiar with Reverse Graduated ND Filter but the photos prove that you made the most of it!
Thank you very much Nolan 🙂
I also have Singh-ray GNDs – but at this point don’t have a reverse GND. I have run into a few situations where I’d love to have one, but as it only comes up here and there I think I’ll be waiting a while.
Hey Michael, I heard of this trick some people use. You take two soft step graduated ND filters. The first one goes in the normal direction, but you push it down so it doesn’t start until half way down your image. The second one goes in the holder upside down with the darker part in the middle. Then you overlap them a bit in the middle. You end up with a darker bit in the middle of the frame and it graduates out in both directions. I haven’t tried it myself but it sounds like it would work!
Sounds like something to test. I have only one soft edge filter though, so it might be kind of tough for me to give that a shot!
I only have one soft one too, but it might work with one soft and one hard if they are overlapping. Maybe …
Wonderful images Anne that perfectly illustrate the benefits of this unique filter. BTW the Singh-ray SNDs are in my bag as well.
Thank you very much Russ. A lot of photographers seem to choose the Singh Rays and it is one of the reasons I chose them too. All those great artists can’t be wrong 🙂
Great shot and definitely one that introduce many of us to the reverse grad. Personally I haven’t used filters beside the circular polarizer and I’m looking forward to learn a little bit more about this lens. Great work in converting the image to B&W.
Thank you very much Diana. My favourite filter, aside from the required polarizer, is probably the 3 stop soft step graduated neutral density. There are just so many occasions when the sky is way brighter than the foreground and it is perfect for that.
Another great post, Anne. I like the final outcome – and the fact it’s black and white.
Thank you very much Fred. I like the black and white’s too, but I often find I am not happy with the image when I convert my own. I do like how this one turned out though. I think I must be getting better at the conversion.
Great result. I’ve not played around with these filters, but definitely need to look into it!
Thank you very much Kris. I’m glad I finally have something to show for it after carrying that filter around for a year!
These are great Anne. I’ve never heard of a reverse grad. Something I now want to try out. Love the conversion to B&W.
Thank you very much Edith. I did the conversion on this one in Nik but I do use the Topaz as well sometimes.
Nice shot, Anne. As for my favorite filters, I use the standard Singh-Ray Galen Rowell GND filters.
Hi Richard, those are the same ones that I use! I do like them and give less of a magenta cast than the Cokin ones I started out with. I have been wondering about the Singh Ray LB warming polarizer, but they are so expensive I think I am going to have to keep wondering for awhile. They seem popular though.
Yeah, the SR filters are not supposed to have a color cast. I started off on the Cokin as well and glad that I switched away from them. Maybe I’m mistaken but when digital color balance in post-processing, there isn’t a need for the warming polarizer?
Anne, good post. I don’t think I’ve ever heard of a reverse grad ND. Looks like it’s worth having in the bag.
Hi Ken, yes now that I created these images I am starting to pull that one of the bag a little more often. I think it’s use is limited to those times when the sun is on the horizon, but as photographers we are always out on those occassions aren’t we?